Getting Started with Dart and InfluxDB
By
Community
Product
Use Cases
Developer
Getting Started
Feb 02, 2022
Navigate to:
This article was written by Habdul Hazeez. Scroll below for the author’s picture and bio.
You just launched your application and it’s attracted more users than you were expecting. Your web server is bombarded with data. Now you need to know more about your users: what is the dominant device they’re using, and how long are they staying on the app?
A time series database will help you answer these questions. It allows you to save data for a given point over a specified period of time, which gives you insight into what type of usage you’re getting and when.
One such time series database is InfluxDB. This tutorial will show you how to set up InfluxDB with your Dart application.
What is a time series database?
A time series database is designed to store and retrieve time-stamped data on measurements or events collected over a given period of time. This information can help you track and analyze changes to that data.
Common use cases for time series data
Here are some notable use cases for time series databases, depending on the nature and source of your time-stamped data:
- Understanding stock market trades
- Planning real estate investments on the basis of rising or falling house sales
- Tracking and optimizing the rate of electricity consumption
- Monitoring the performance of Internet of Things (IoT) devices via sensors
- Why use InfluxDB
InfluxDB is one of the better-known time series databases on the market. It’s fast and easy to use with no dependencies. It offers multiple data compression algorithms and works with open-source Telegraf plugins, providing better developer experience (DX).
Installing InfluxDB
Visit the download page to install. You can register your download if you choose. You can also use InfluxDB Cloud if you prefer a managed cloud instance of InfluxDB with no local installation required.
Select your platform and follow the instructions. This tutorial uses Windows; if you choose Windows as well, you’ll need wget. For full instructions on how to install InfluxDB on MacOS or Linux, you can check out the documentation.

Launch PowerShell using admin privileges and paste the command to download. The InfluxDB file will appear in your C:\ directory.

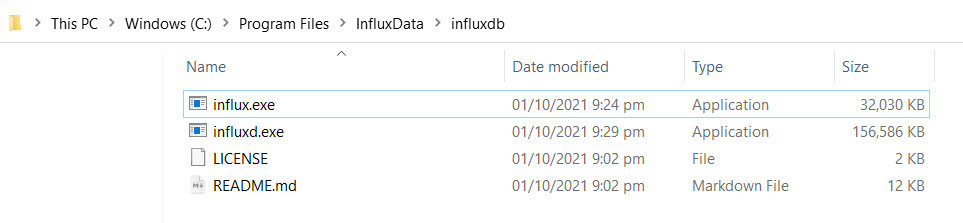
Extract InfluxDB to a folder. In this case, it’s a folder called InfluxData within the Program Files directory:
# Extract InfluxDB download archive
Expand-Archive .\influxdb2-2.0.9-windows-amd64.zip -DestinationPath 'C:\Program Files\InfluxData\influxdb\'
Once that’s completed, InfluxDB and associated files will be located in a folder with the same name as the installation file. Select all the files in this folder and move them to an upper directory. Your folder structure should be similar to this one:
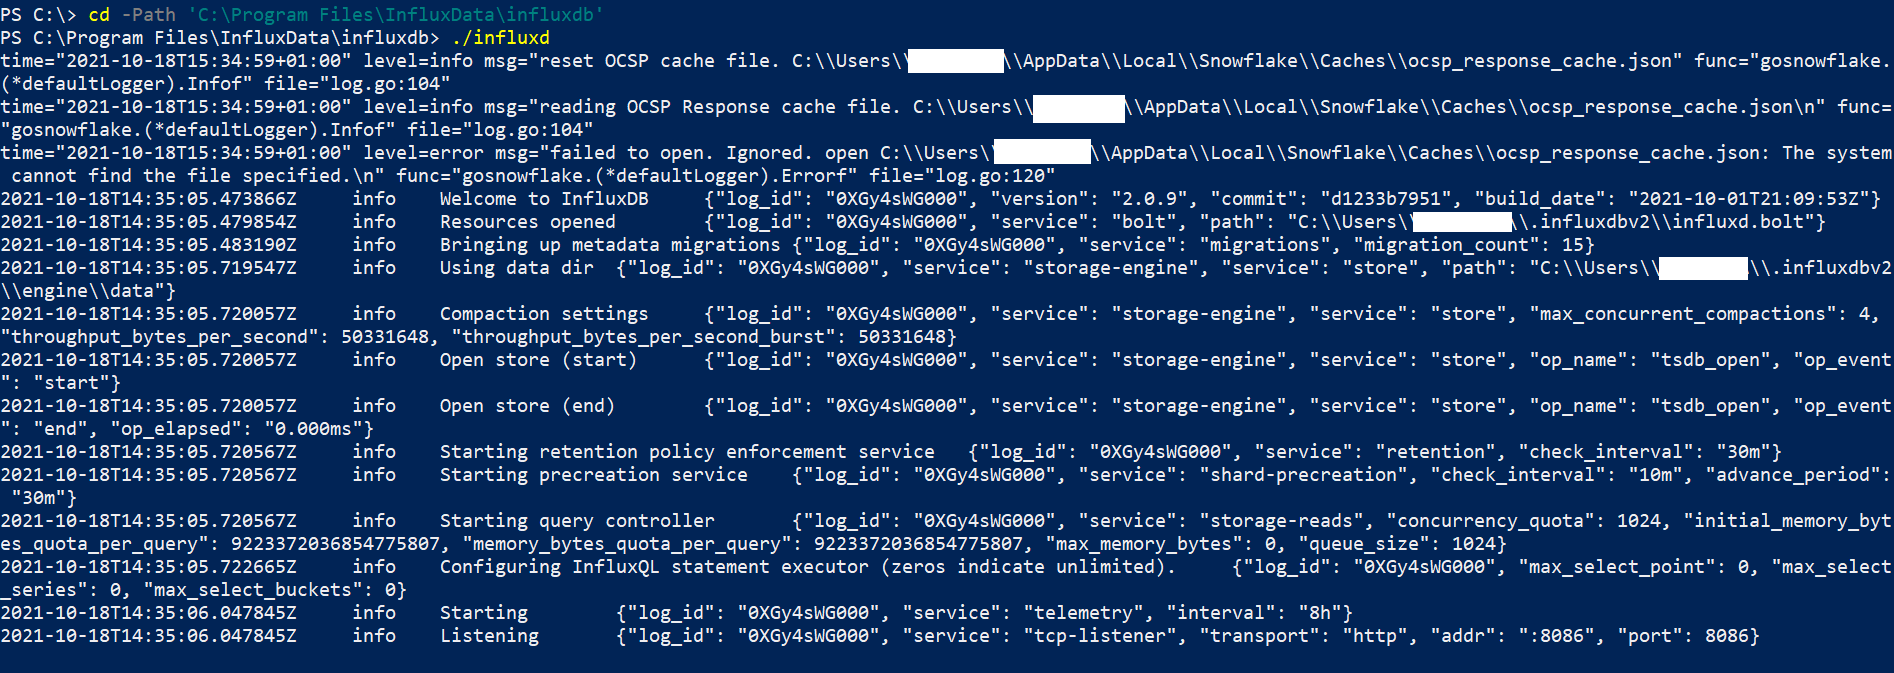
Switch back to PowerShell and navigate to the InfluxDB directory. Launch the InfluxDB daemon using the command ./influxd:
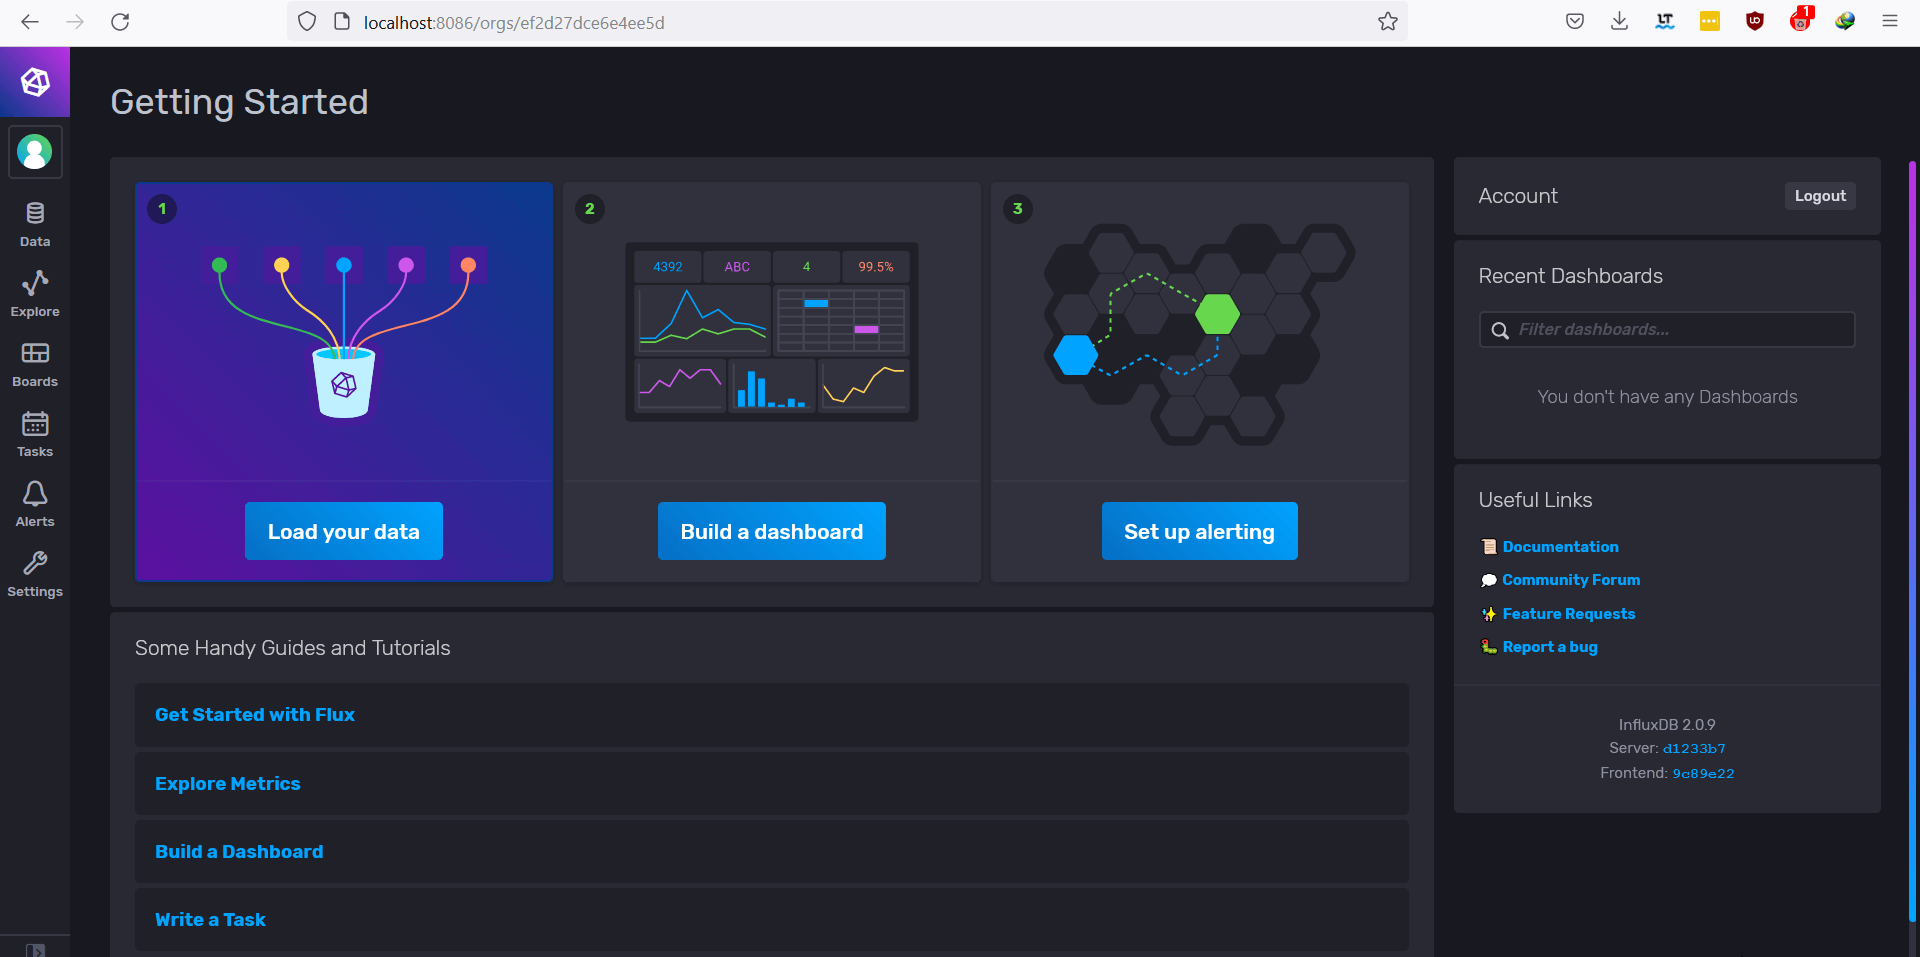
Point your browser to localhost:8086. You’ll see the onboarding page:

Click Get Started to set up your account:
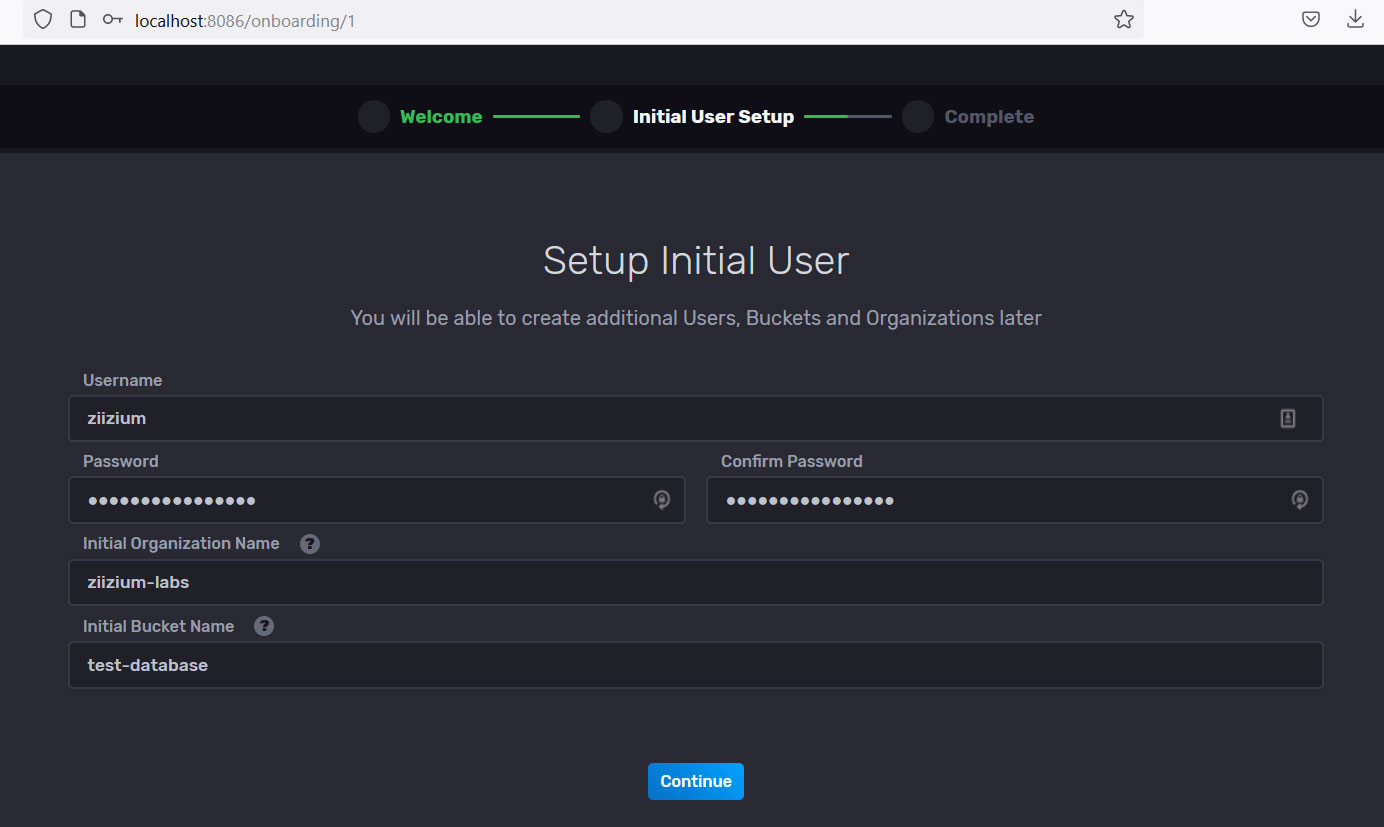
Click Continue, then select Quick start. You’ll be prompted for the login details created earlier:
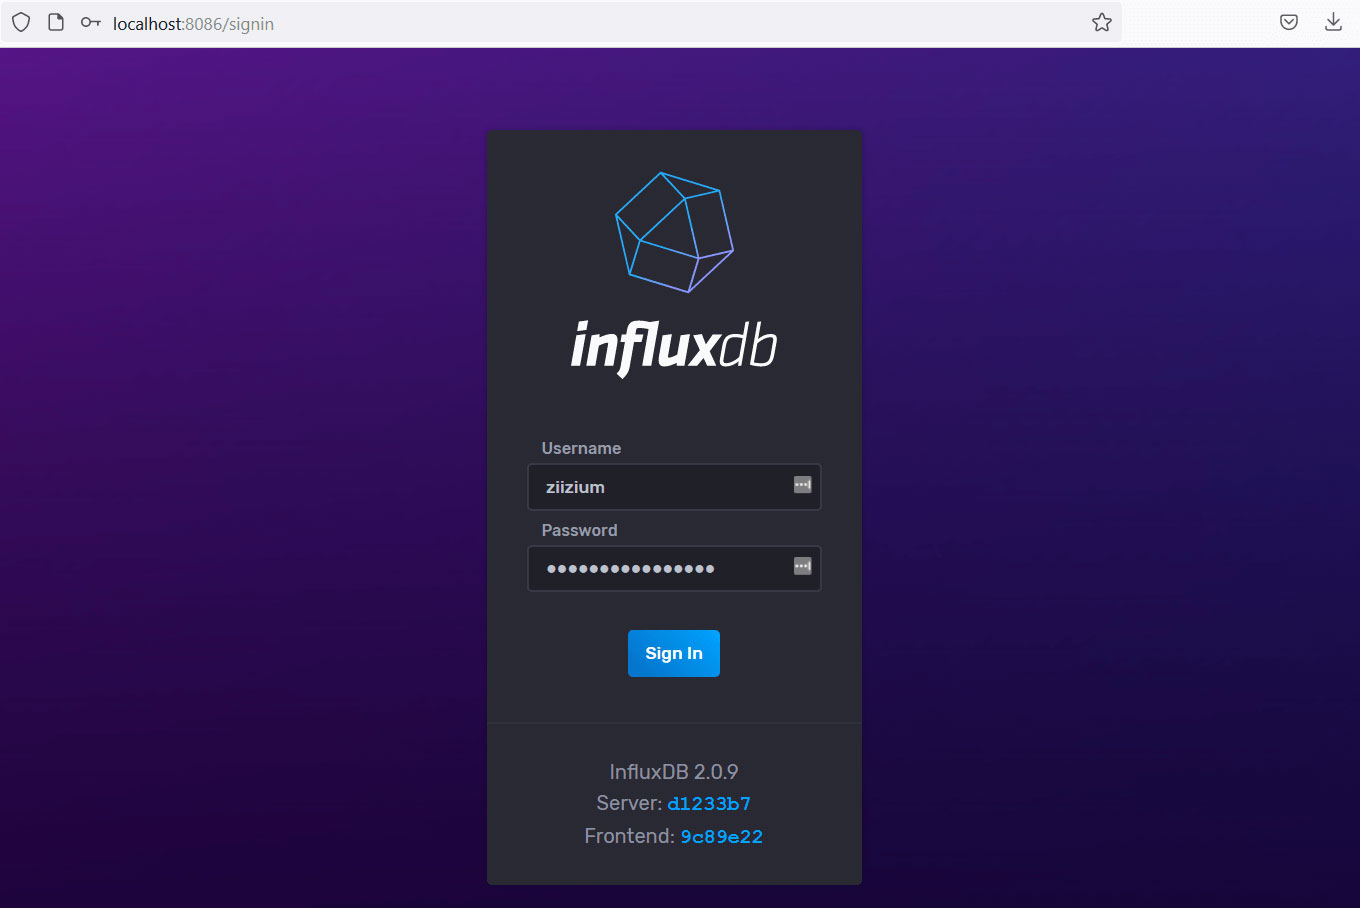
Enter your login details to get to your dashboard:
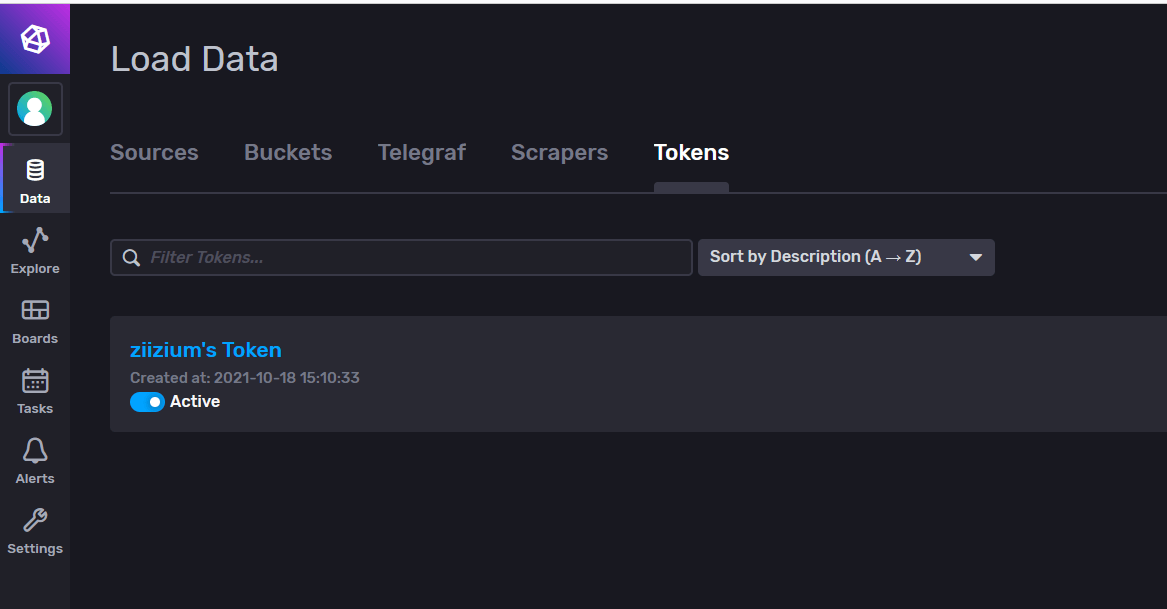
You’ll need a token when interacting with InfluxDB from your app. You’ll find it under Data > Tokens:
Next you’ll install the InfluxDB client library, but first you’ll need some prerequisites.
Prerequisites for client library
Here is what you need to do to install the client library:
- Install a package manager
- Install Dart SDK
- Create a project folder
Install a package manager
On Linux, use the package manager of your distribution. For macOS, install Homebrew.
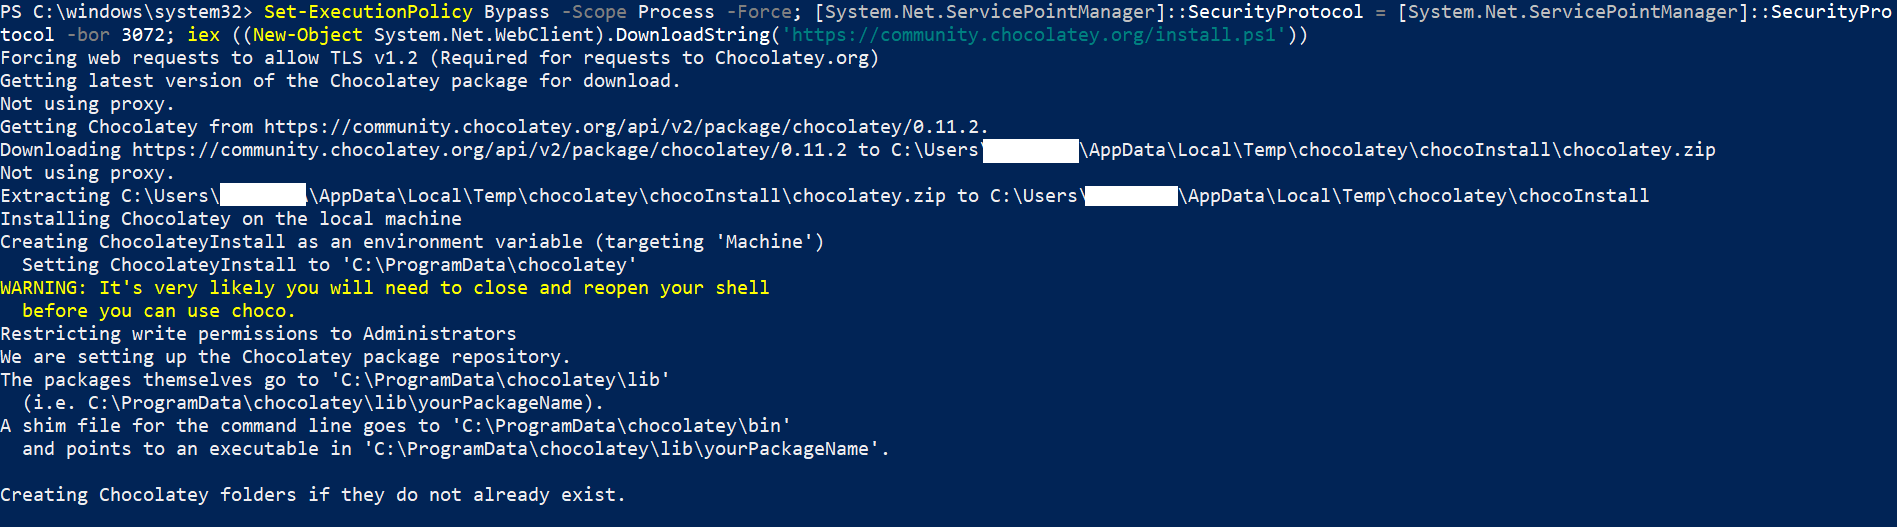
For this tutorial, you’ll use Chocolatey on Windows (which also requires PowerShell).
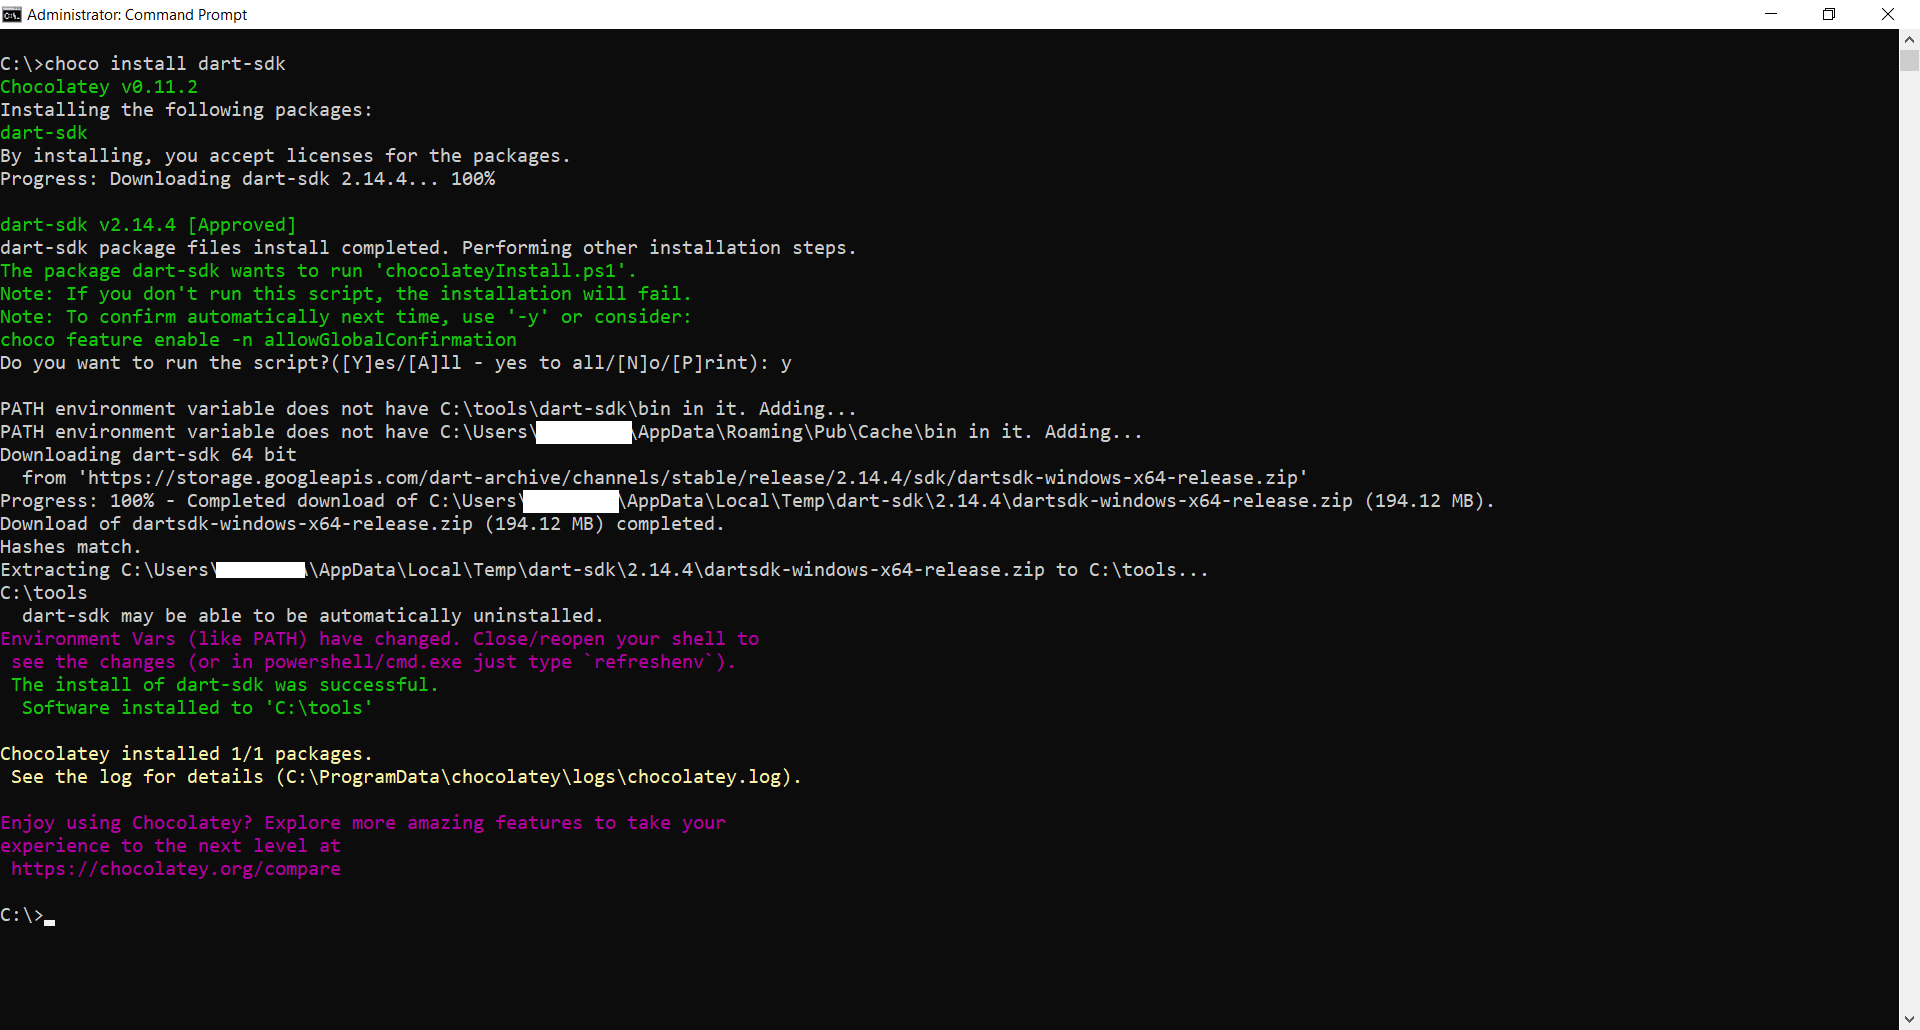
Install Dart SDK
Launch your command prompt with admin privileges and install Dart SDK:
choco install dart-sdk
Create project folder
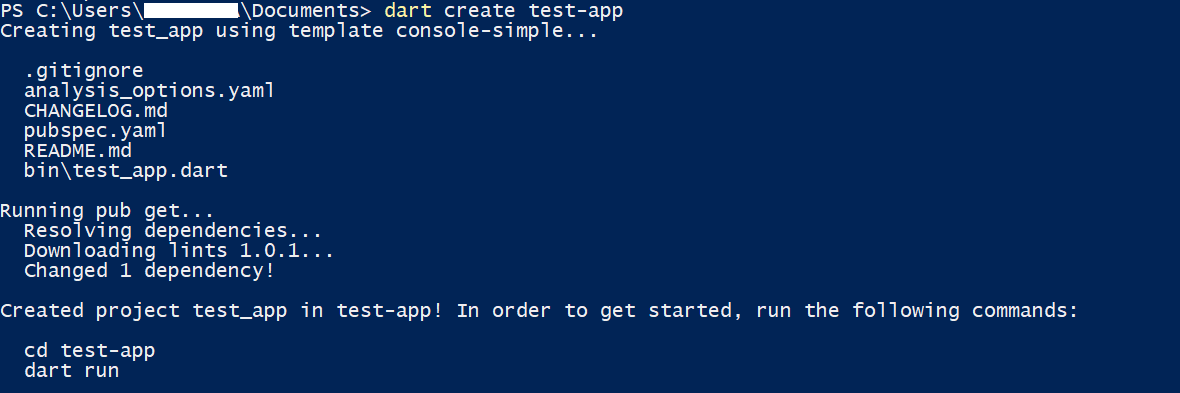
Switch back to your command line and navigate to your preferred folder. Type and execute the following command:
dart create test-app
The below image shows the code in action:
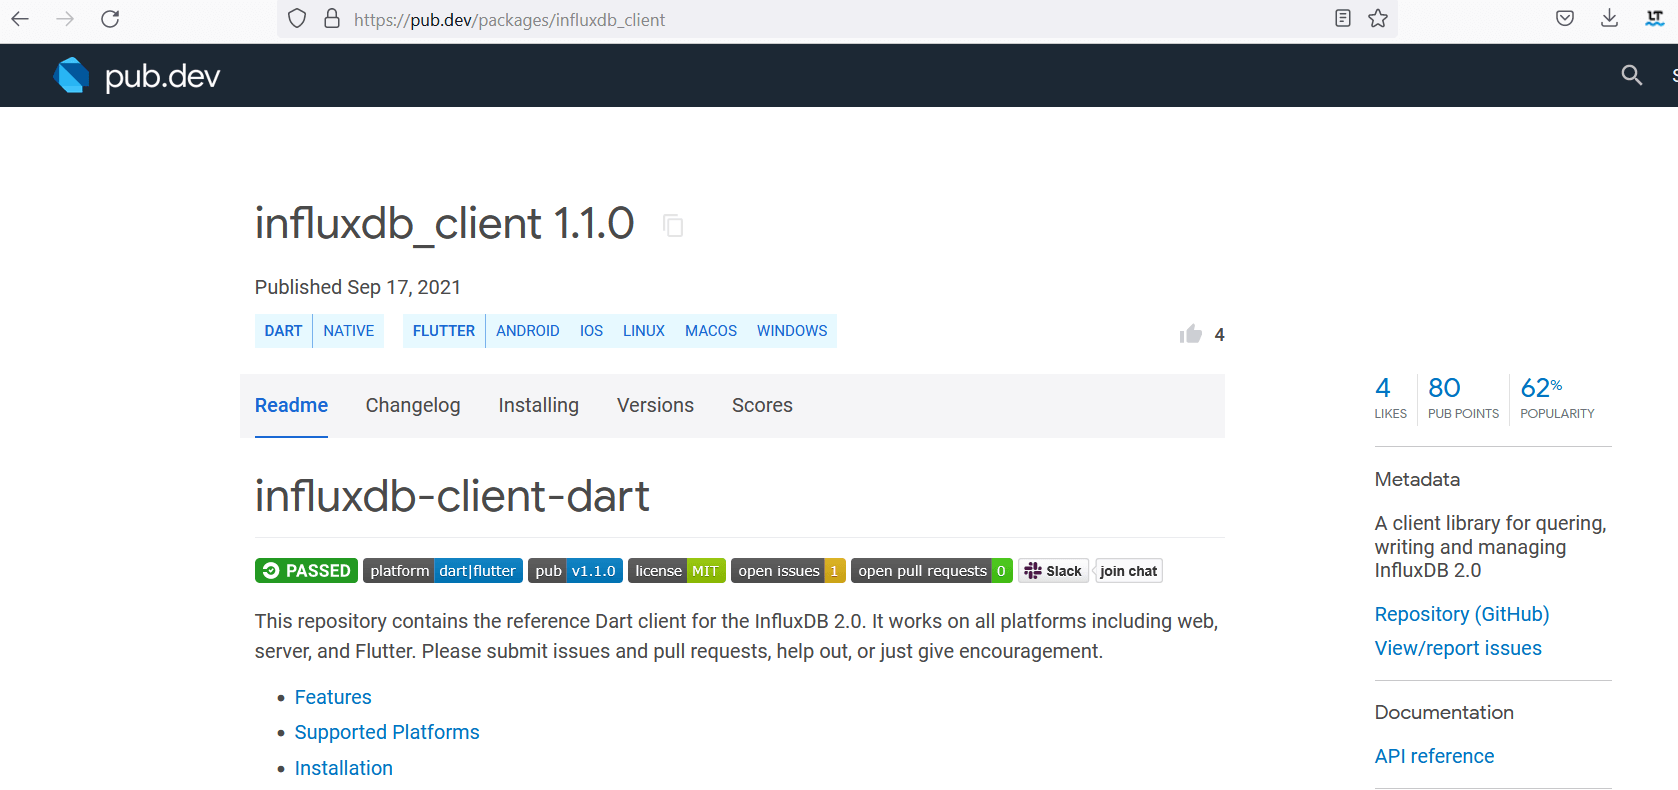
Set up the client library
The library works with InfluxDB version 2 and above. It’s available for download on the pub.dev package repository.
Open PowerShell in your project directory. Type the following command:
# InfluxDB client installation
dart pub add influxdb_client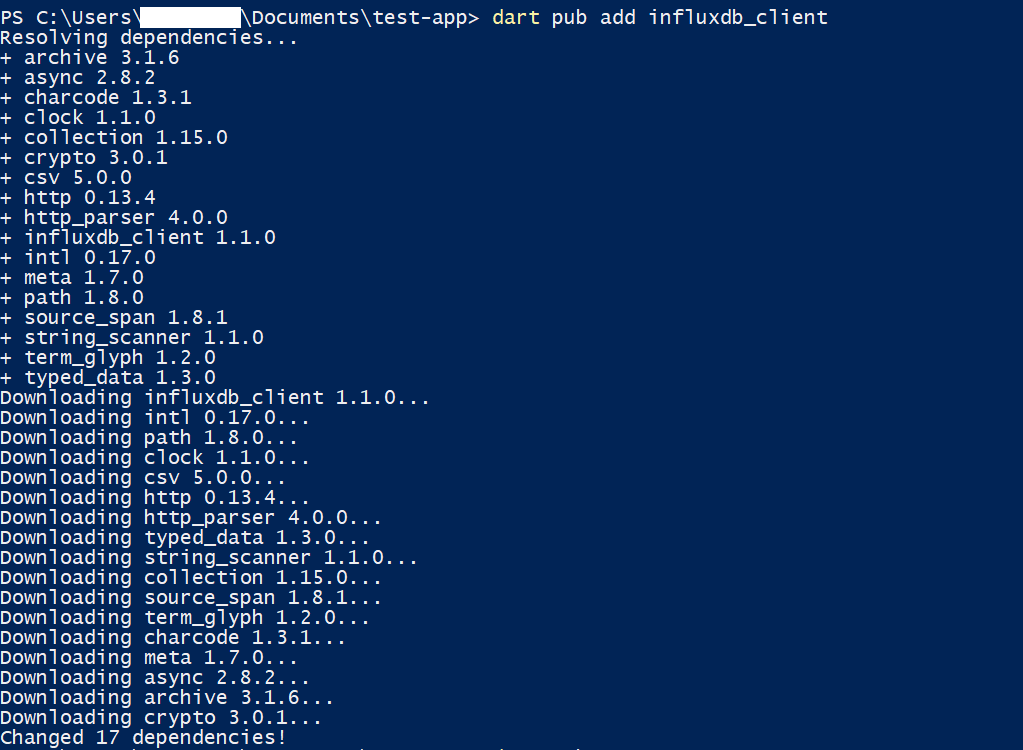
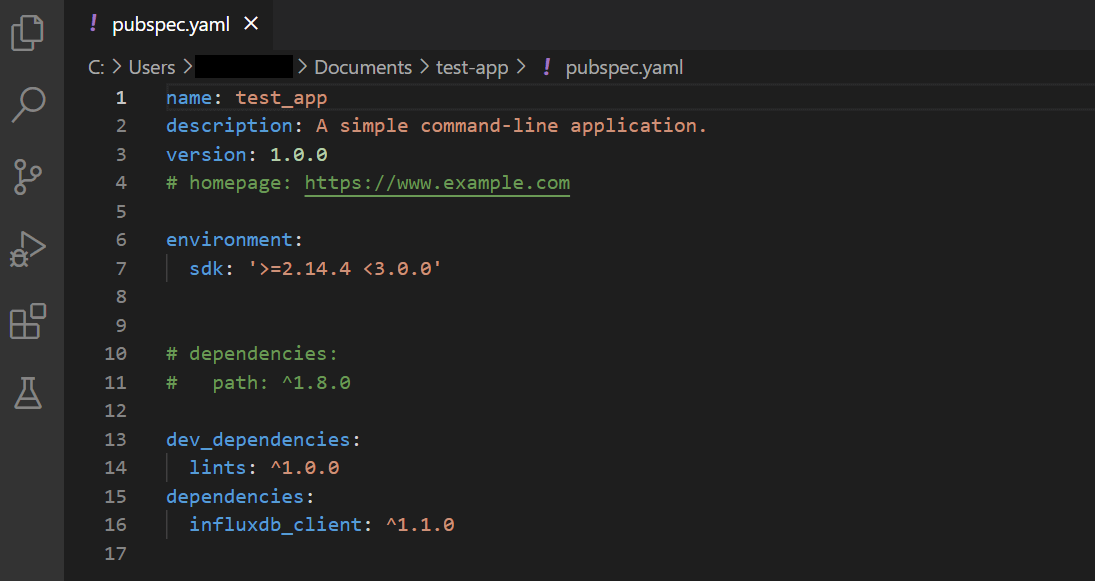
To confirm that it’s installed, check your pubspec.yaml file and ensure it’s listed as a dependency:
Connect the client library to InfluxDB
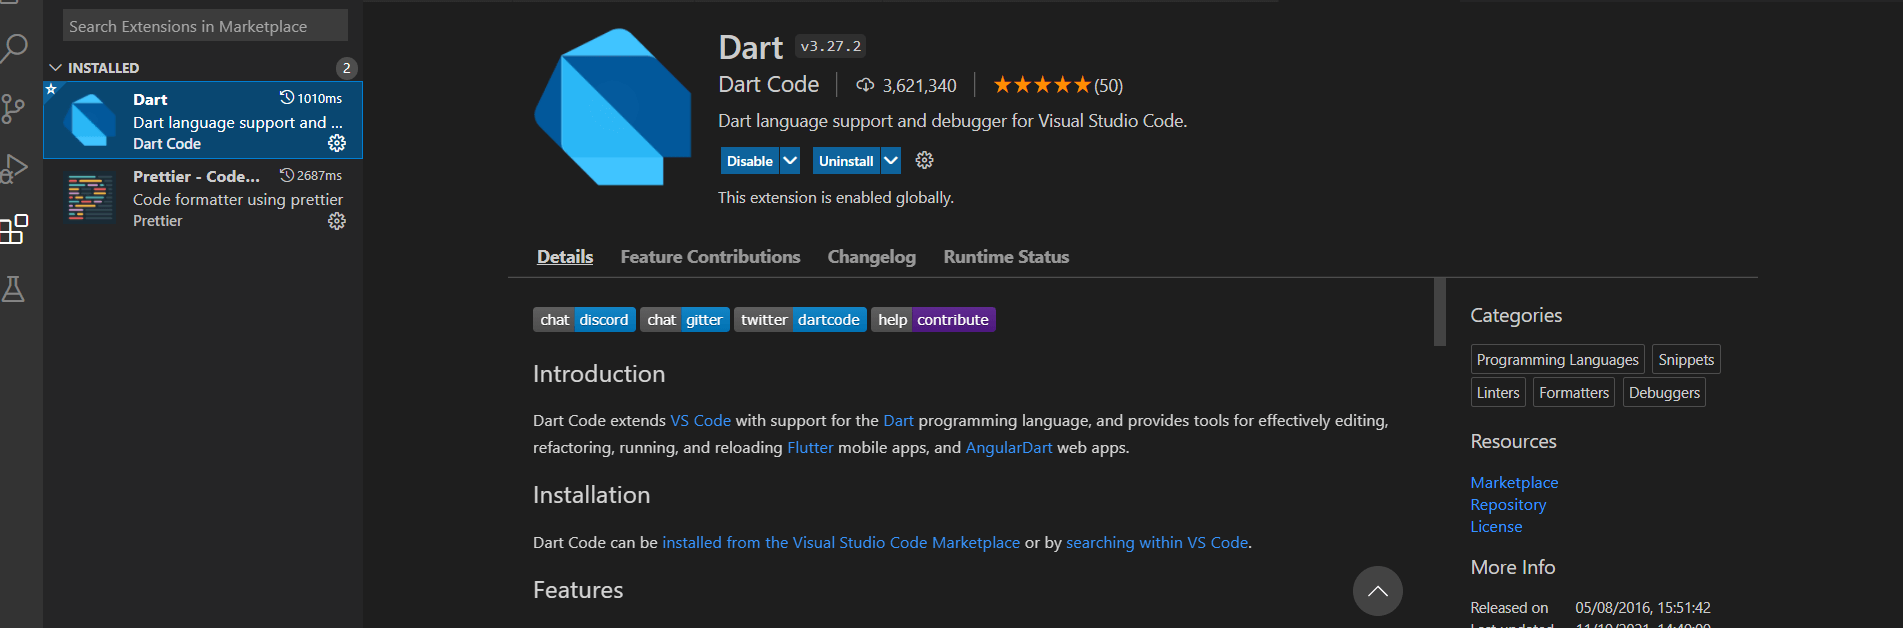
At this stage, you’ll start writing some code. Install VS Code if you haven’t already; it offers a huge market of extensions, including the Dart extension.
Install the extension via the VS Code extension market:
Create and save a new Dart file. Name it main.dart and insert the following code:
// @dart=2.9

import 'package:influxdb_client/api.dart';

void main() async {
  var client = InfluxDBClient(
  	url: 'http://localhost:8086',
  	token:
      	'Your token here',
  	org: 'Your org name',
  	bucket: 'Your bucket name',
  	debug: true);

  var healthCheck = await client.getHealthApi().getHealth();
  print(
  	'Health check: ${healthCheck.name}/${healthCheck.version} - ${healthCheck.message}');

  client.close();
}
Click Run just above the main function to execute the code:

You can improve the connection with HTTPS.
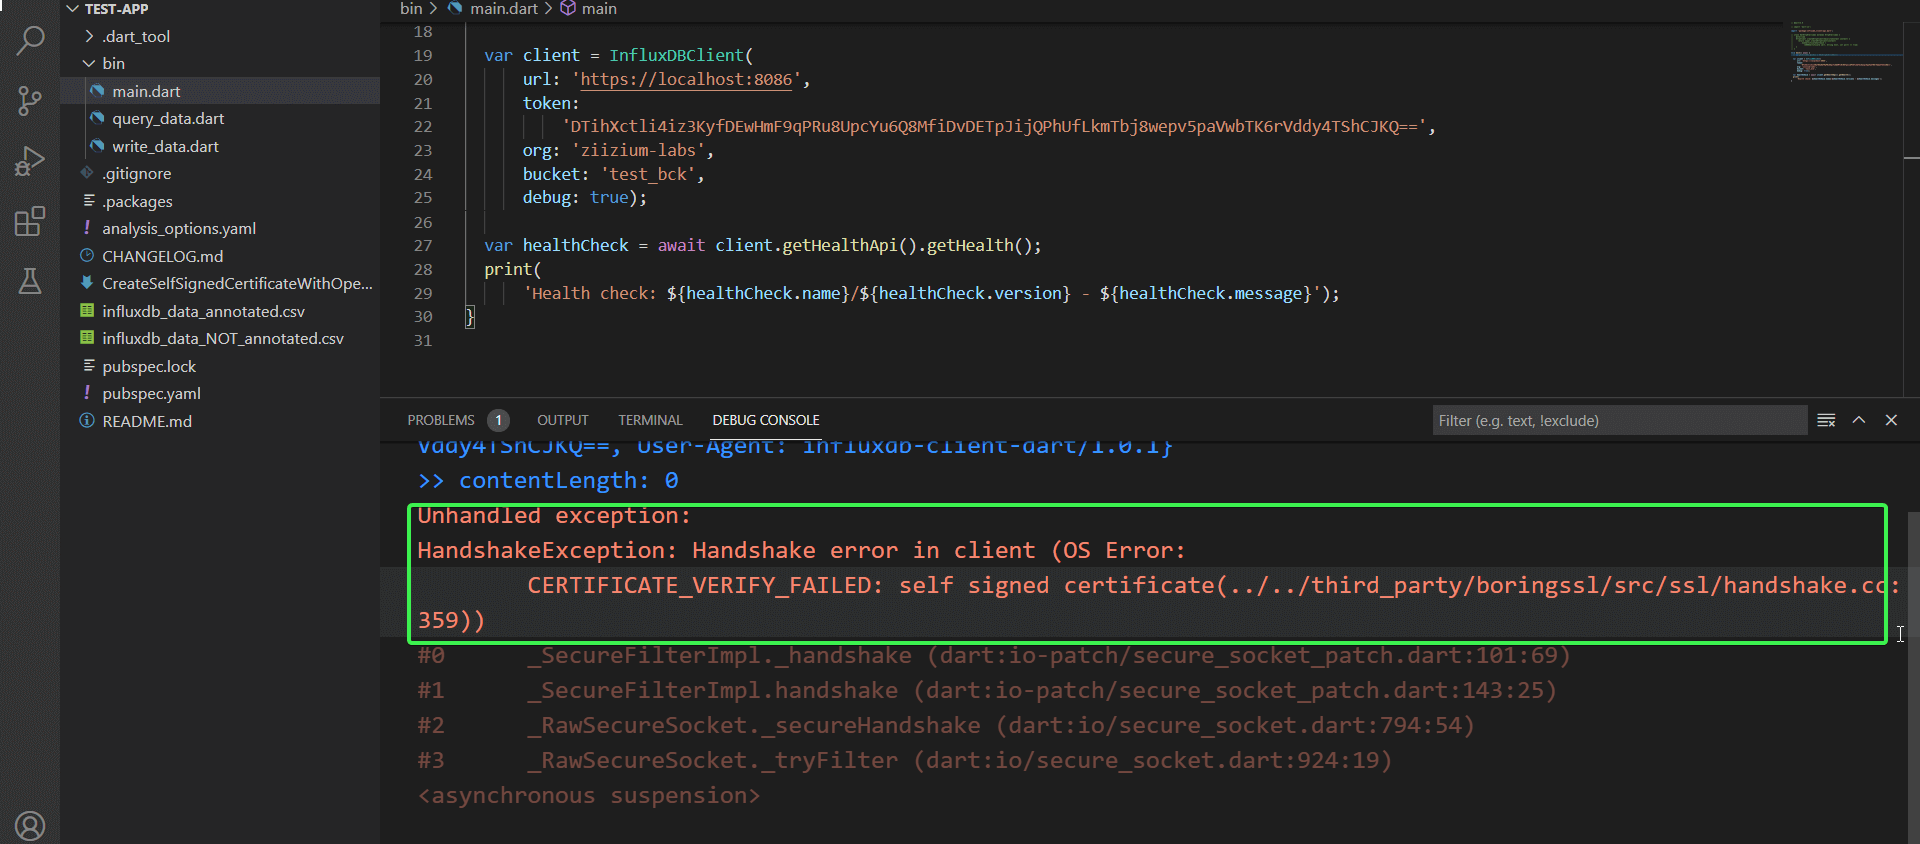
Connect the client library via HTTPS
Before connecting the library, you’ll need InfluxDB running via HTTPS. Shut down InfluxDB before you proceed.
Now launch InfluxDB with a certificate and key pair. Since you’re on your local machine, you’ll create a self-signed certificate and key.
There are two ways you can do this:
- Use an online service
- Use OpenSSL library
This tutorial employs the latter option. You’ll find the full details in the GitHub gist here.
Restart InfluxDB with the self-signed certificate and key:
./influxd --tls-cert="C:\Program Files\OpenSSL-Win64\bin\SSL\influxdb-selfsigned.crt" --tls-key="C:\Program Files\OpenSSL-Win64\bin\SSL\influxdb-selfsigned.key"Check the connection string in your command prompt (or terminal). It should read https.

Switch back to VS Code. With InfluxDB running via HTTPS, any attempt by the client library to connect via HTTP won’t go through. Instead, you’ll see the error message Client sent an HTTP request to an HTTPS server.

Just changing the protocol https:// won’t fix this. You’ll get another error:
The fix is to import dart:io and create a class before your main() function. It grants you permission to use the self-signed certificate. Use the class within the main() function. For more details, check here.
// @dart=2.9

import 'dart:io';

import 'package:influxdb_client/api.dart';

class DevHttpOverrides extends HttpOverrides {
  @override
  HttpClient createHttpClient(SecurityContext context) {
	return super.createHttpClient(context)
  	..badCertificateCallback =
      	(X509Certificate cert, String host, int port) => true;
  }
}

void main() async {
  HttpOverrides.global = DevHttpOverrides();

  var client = InfluxDBClient(
  	url: 'https://localhost:8086',
  	token:
      	'Your token here',
  	org: 'Your org name',
  	bucket: 'Your bucket name',
  	debug: true);

  var healthCheck = await client.getHealthApi().getHealth();
  print(
  	'Health check: ${healthCheck.name}/${healthCheck.version} - ${healthCheck.message}');

  client.close();
}
Restart the connection and everything should be good.

Insert data into InfluxDB
You’ll find data to use in influx_data_NOT_annotated. Here it is:
{
  "measurement": "watt-hour",
  "tags": [
    "house_name": "The Johnsons"
  ],
  "fields": [
    "electricity_consumption": 78
  ]
}
The write_data.dart code performs the insertion:
// @dart=2.9
import 'dart:io';
import 'package:influxdb_client/api.dart';

class DevHttpOverrides extends HttpOverrides {
@override
HttpClient createHttpClient(SecurityContext context) {
    return super.createHttpClient(context)
    ..badCertificateCallback = (X509Certificate cert, String host, int port) => true;
  }
}

void main() async {
    HttpOverrides.global = DevHttpOverrides();
    var client = InfluxDBClient(
        url: 'https://localhost:8086',
        token: 'Your token here',
        org: 'Your org name',
        bucket: 'Your bucket name',
debug: true);
var writeApi = client.getWriteService(WriteOptions().merge(
        precision: WritePrecision.s,
        batchSize: 100,
        flushInterval: 5000,
        gzip: true));

var point = Point('watt-hour')
    .addTag('house_name', 'The Johnsons')
    .addField('electricity_consumption', 78)
    .time(DateTime.now().toUtc());

await writeApi.write(point).then((value) {
    print('Write completed 1');
}).catchError((exception) {
    print(exception);  });

client.close();

}
You’ll see Write completed 1 in the debug console.
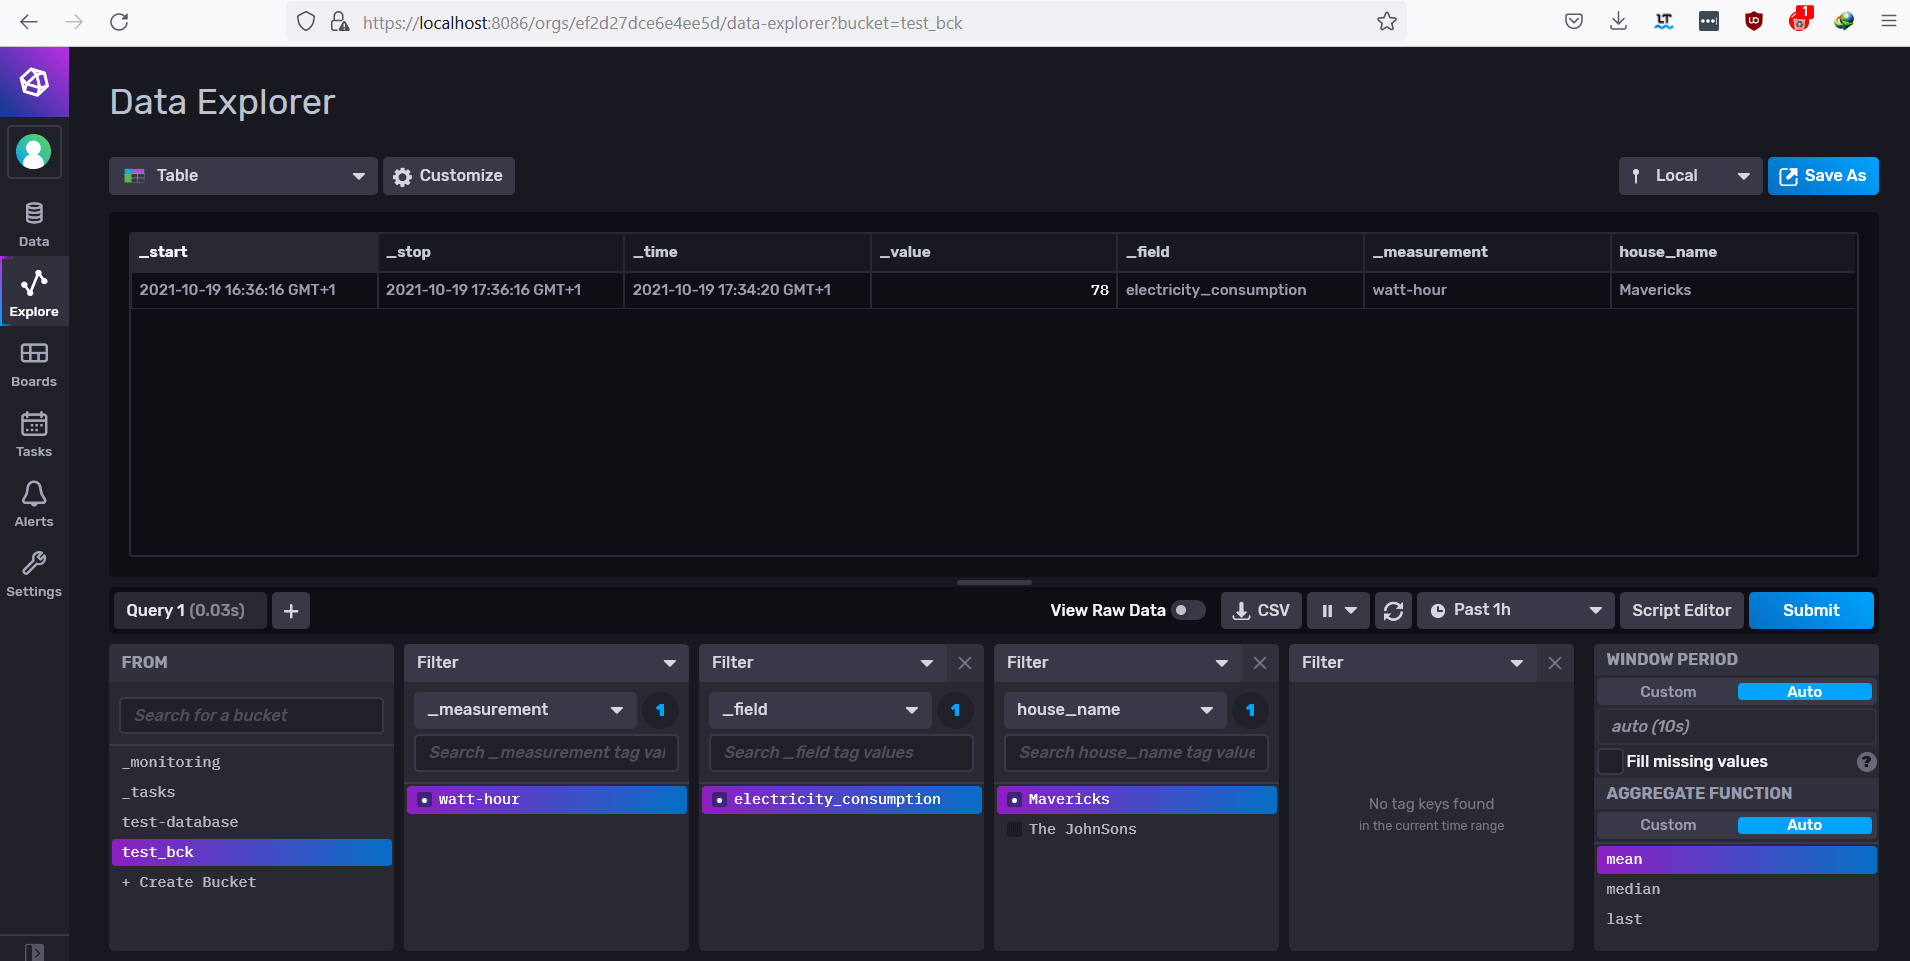
Reading data from InfluxDB
Reading the data involves the following steps:
- Initiate the connection
- Start
getQueryservice provided by the library - Use a Flux query to filter the data
- Iterate over the records
- Print the records
// @dart=2.9
import 'dart:async';
import 'dart:io';
import 'package:influxdb_client/api.dart';
class DevHttpOverrides extends HttpOverrides {
@override
HttpClient createHttpClient(SecurityContext context) {
    return super.createHttpClient(context)
    ..badCertificateCallback = (X509Certificate cert, String host, int port) => true;
  }
}

void main() async {
    HttpOverrides.global = DevHttpOverrides();
    var client = InfluxDBClient(
         url: 'https://localhost:8086',
         token: 'Your token here',
        org: 'Your org name',
        bucket: 'Your bucket name',
        debug: true);

 // Reading the data
var queryService = client.getQueryService();

var fluxQuery = '''
from(bucket: "test_bck")
|> range(start: -1d)
|> filter(fn: (r) => r["_measurement"] == "watt-hour")
|> aggregateWindow(every: 1m, fn: mean, createEmpty: false)
|> yield(name: "mean")  ''';

// query to stream and iterate all records  var count = 0;  var recordStream = await queryService.query(fluxQuery);

await recordStream.forEach((record) {
    print( 'record: ${count++} ${record['_time']}: ${record['_field']} ${record['house_name']} ${record['_value']}');  });

client.close();}
For other options on reading the data, check query_data.dart. These options are Raw CSV and StreamSubscription.
Updating InfluxDB data
You can also update data stored inside InfluxDB, although it should be noted that updating data is generally considered a bad practice when working with a time series database.
To update the data, you’ll need a tag name associated with a point.
Data for the name Mavericks was used for this tutorial:
The Mavericks electricity consumption was updated to 178:
// code truncated to save space

void main() async {

// code truncated to save space

var point = Point('watt-hour')
.addTag('house_name', 'Mavericks')
.addField('electricity_consumption', 178)
.time(DateTime.now().toUtc());

 // code truncated to save space}
Consequently, it reflects in the database.

You’ll find the entire code in this GitHub repository.
Library best practices
Here are some best practices to follow for the client library:
- Use SSL/TLS when connecting to the database
- Install the library from its pub.dev repository
- Update it whenever possible
Conclusion
Now you should have a better sense of how to use InfluxDB via your Dart application. The data that InfluxDB provides can give you detailed insights into your app’s users and types of traffic, helping you to make informed decisions for your business.
For more information about InfluxDB, check its documentation here.
About the author:

Habdul Hazeez expresses himself with code and words. He is a Technical Writer on Dev.to, Educative edpresso and CSS-Tricks. He worked previously at LogRocket blog.
