How to send sensor data to InfluxDB from an Arduino Uno
By
Todd Persen
updated December 14, 2025
Product
Use Cases
Navigate to:
Introduction
Since InfluxDB is a time series database, it’s the perfect candidate for storing data collected from sensors and various other devices that comprise the Internet of Things. In this article, we’ll look at a basic use case involving data collection from a temperature sensor connected to an Arduino Uno, then sent to InfluxDB via the native UDP plugin.
Why UDP?
Since most of the processors present in Internet-enabled devices are designed to be energy-efficient (and thus relatively low-powered) and may also be connected via low-bandwidth links, it’s in our best interest to use communication methods that require as little processing and networking overhead as possible.
Therefore, UDP (User Datagram Protocol) is an excellent candidate for this exercise. Unline its sister protocol, TCP, it is connectionless - meaning that it doesn’t require any handshaking or waiting for acknowledgement of a successful data transmission. This also means that a potential downside of using UDP is that failed transmissions will go undetected. Because of this, it is often referred to as a “fire and forget” protocol.
Other protocols, such as MQTT, offer data transmission properties that are similar in efficiency to UDP, but require a more complicated client implementation in order to obtain better guarantees about data receipt.
The InfluxDB Line Protocol
Fortunately, sending data to InfluxDB is easy - it has a compact, text-based line protocol for writing data over both the HTTP API as well as the UDP interface. Points are provided one per line, with the following specification:
[key] [fields] [timestamp]The timestamp field (specified in nanoseconds from the epoch) is optional, so a sample point could look like this:
temperature,device=arduino01 value=83.2In this example, the device specifies a tag, which allows for convenient indexing within InfluxDB. You can supply other tags to help identify the specific details about where or how that measurement was taken.
Enabling UDP on InfluxDB
By default, the UDP interface on InfluxDB is disabled. You’ll want to modify the configuration file to look similar to this:
...

[[udp]]
  enabled = true
  bind-address = ":8888"
  database = "arduino"

...
You’ll need to create the specified database before you can receive packets via the UDP interface. To do so, you can issue the following command with the InfluxDB CLI:
CREATE DATABASE arduinoThe Hardware
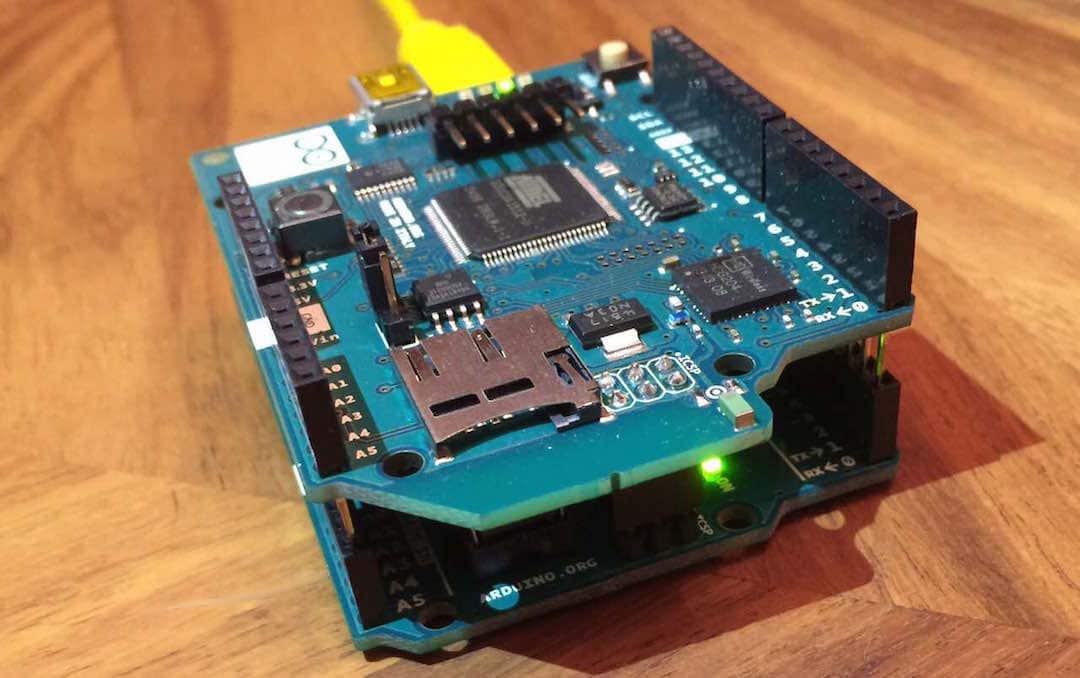
We'll be using the following hardware:
Note: Some versions of the Arduino WiFi Shield ship with a faulty firmware. If you run into trouble sending UDP packets after you’ve checked everything else, you can learn how to upgrade the firmwarehere.
Sample Code
This code assumes the TMP36 is attached to Analog Pin 0, and will poll once per second and send the value out to the specified InfluxDB host via UDP.
#include <SPI.h>
#include <WiFi.h>
#include <WiFiUDP.h>

char ssid[] = "your network name";     //  your network SSID (name)
char pass[] = "network password";    // your network password
int status = WL_IDLE_STATUS;     // the Wifi radio's status

// the IP address of your InfluxDB host
byte host[] = {10, 0, 1, 11};

// the port that the InfluxDB UDP plugin is listening on
int port = 8888;

WiFiUDP udp;

void setup() {
  // initialize serial port
  Serial.begin(9600);

  // attempt to connect using WPA2 encryption
  Serial.println("Attempting to connect to WPA network...");
  status = WiFi.begin(ssid, pass);

  // if unable to connect, halt
  if ( status != WL_CONNECTED) {
    Serial.println("Couldn't get a WiFi connection");
    while(true);
  }
  // if the conneciton succeeded, print network info
  else {
    Serial.println("Connected to network");
    // print your WiFi shield's IP address:
    IPAddress ip = WiFi.localIP();
    Serial.print("IP Address: ");
    Serial.println(ip);

    // print the received signal strength:
    long rssi = WiFi.RSSI();
    Serial.print("signal strength (RSSI):");
    Serial.print(rssi);
    Serial.println(" dBm");
  }
}

float getTemperature() {
  // get the reading from the temperature sensor
  int reading = analogRead(0);

  // convert that reading to voltage
  float voltage = reading * 5.0;
  voltage /= 1024.0;

  // convert the voltage to temperature in Celsius (10mV per degree + 500mV offset)
  float temperatureC = (voltage - 0.5) * 100 ;

  // now convert to Fahrenheit
  float temperatureF = (temperatureC * 9.0 / 5.0) + 32.0;

  return temperatureF;
}

void loop() {
  String line, temperature;

  // wait 1 second
  delay(1000);

  // get the current temperature from the sensor, to 2 decimal places
  temperature = String(getTemperature(), 2);

  // concatenate the temperature into the line protocol
  line = String("temperature value=" + temperature);
  Serial.println(line);

  // send the packet
  Serial.println("Sending UDP packet...");
  udp.beginPacket(host, port);
  udp.print(line);
  udp.endPacket();
}
Querying Data from InfluxDB
Once the data has been written to InfluxDB, now you can issue a query to retrieve it. The quickest way is to use curl from the command line. Using the host and port provided in the code example above, the following should give you the most recent point from the temperature measurement:
curl -G 'http://localhost:8086/query' --data-urlencode "db=arduino" --data-urlencode "q=SELECT value FROM temperature LIMIT 1"If data has successfully been received by InfluxDB, you should see a line this:
{"results":[{"series":[{"name":"temperature","columns":["time","value"],"values":[["2015-08-27T04:09:53.883221046Z",83.2]]}]}]}Congratulations - your data is being collected!
Troubleshooting
In the event that you don’t see any data points, here are a few things you can check:
- Make sure the WiFi shield is running the latest firmware
- Make sure the UDP interface is enabled inside of InfluxDB and that the service has been restarted
- Make sure the host and port match your actual InfluxDB instance
- Make sure the WiFi or Ethernet shield is successfully connecting to the network
- Make sure the database you're trying to write to has been created
Next Steps
- Download InfluxDB
- Read more about the Open Source Platform
Hopefully one of the above will help get you back on track. Good luck!
