Getting Started with Ruby and InfluxDB
By
Community
updated December 14, 2025
Product
Use Cases
Developer
Getting Started
Navigate to:
This article was written by Oluwaseun Raphael Afolayan. Scroll down for the author’s photo and bio.
Time series databases like InfluxDB index data by time. They are efficient at recording constant data streams like server metrics, application monitoring, sensor reports, or any other data containing a timestamp. The structure makes analyzing change over time a breeze.
This tutorial will show you how to set up InfluxDB with a sample Ruby application.
What is a time series database?
A time series database is a type of database optimized for storing and retrieving timestamped data, or data that involves events and measurements collected over a specific period of time.
Time series databases are especially useful in the implementation of IoT devices, since remote devices are continually capturing metrics for analytics purposes. Another handy use case is when building a server monitoring app, since you might want a detailed report on how your systems operate at specific periods of time to monitor business or security-critical data.
Why use InfluxDB?
InfluxDB is one of the most popular options available for time series databases. All features are presented in one unified API, and it offers powerful UI and dashboard tools.
Although InfluxDB shares some similarities with traditional databases, it is not a hands-on CRUD database. InfluxDB puts more focus on writing and reading data than it does on modifying and destroying it.
You update records in InfluxDB by inserting data bearing the same measurement, tag set, and timestamp. This makes InfluxDB better optimized to handle read/write operations.
How to use InfluxDB
You’re going to install InfluxDB on a local machine and integrate it with Ruby using the influxdb-client-ruby package, then learn some basic database operations.
InfluxDB provides an array of client libraries that make it painless to integrate with various technologies. For Ruby developers, InfluxDB provides the influxdb-client-ruby package, which works with InfluxDB versions 1.8+ and 2.x.
Setting up your machine
This tutorial assumes you have a Ruby development environment on your local machine.
To verify your installation of Ruby, run the command below to see which version is installed.

If you don’t have Ruby, run the brew install ruby command to download the Ruby compiler using Homebrew, the macOS package manager, if you’re a Mac user.
Debian/Ubuntu-based Linux users can install the compiler using the APT package manager or by running sudo apt-get install ruby-full.
If you’re on a Windows device, run the Ruby installer.
The installation guide for other operating systems or Linux distros can be found in the official Ruby docs. Once you’re set up with a local Ruby install, you’re ready to install the InfluxDB platform.
Alternatively you can use InfluxDB Cloud to get a free InfluxDB instance running in just a few minutes without having to set up anything locally on your computer. The will be the same except you will need to use the URL of the cloud provider you chose to host the instance instead of localhost as the URL parameter in your code.
Installing InfluxDB
You can install the InfluxDB package on your Mac by running:
## update Homebrew

brew update

brew install influxdb
For other operating systems or for Docker- or Kubernetes-based environments, check the installation guide.
Once installed, you can use the influxd command from your terminal to start the server.
Setting up InfluxDB
You have two options for local setup: through the Web-based UI or through the command line.
Using the UI
In order to access the InfluxUI interface, you need to have the daemon running with the influxd command. Head to localhost:8086 and enter your configuration profile.
Using the CLI
The InfluxDB CLI allows you to tinker with your local database from the command line. You can see a list of available commands by running either influx --help or influx -h:

To set up the CLI, run influx setup and follow the prompt asking for your user information.
Generating a token
To interact with your bucket using a client, you need to set up an authorization token, which can be generated from the CLI by running influx auth create -o <organization-name>.
Using the influx auth create command also allows you to specify what permissions should be granted to a token, as seen below:
influx auth create -o organization-name \

--read-buckets \

--write-buckets \

--read-dashboards \

--read-tasks \

--read-user
If you prefer a more visual interface, you can create and manage tokens from the UI by clicking on the Data tab, then the Tokens tab on the left:
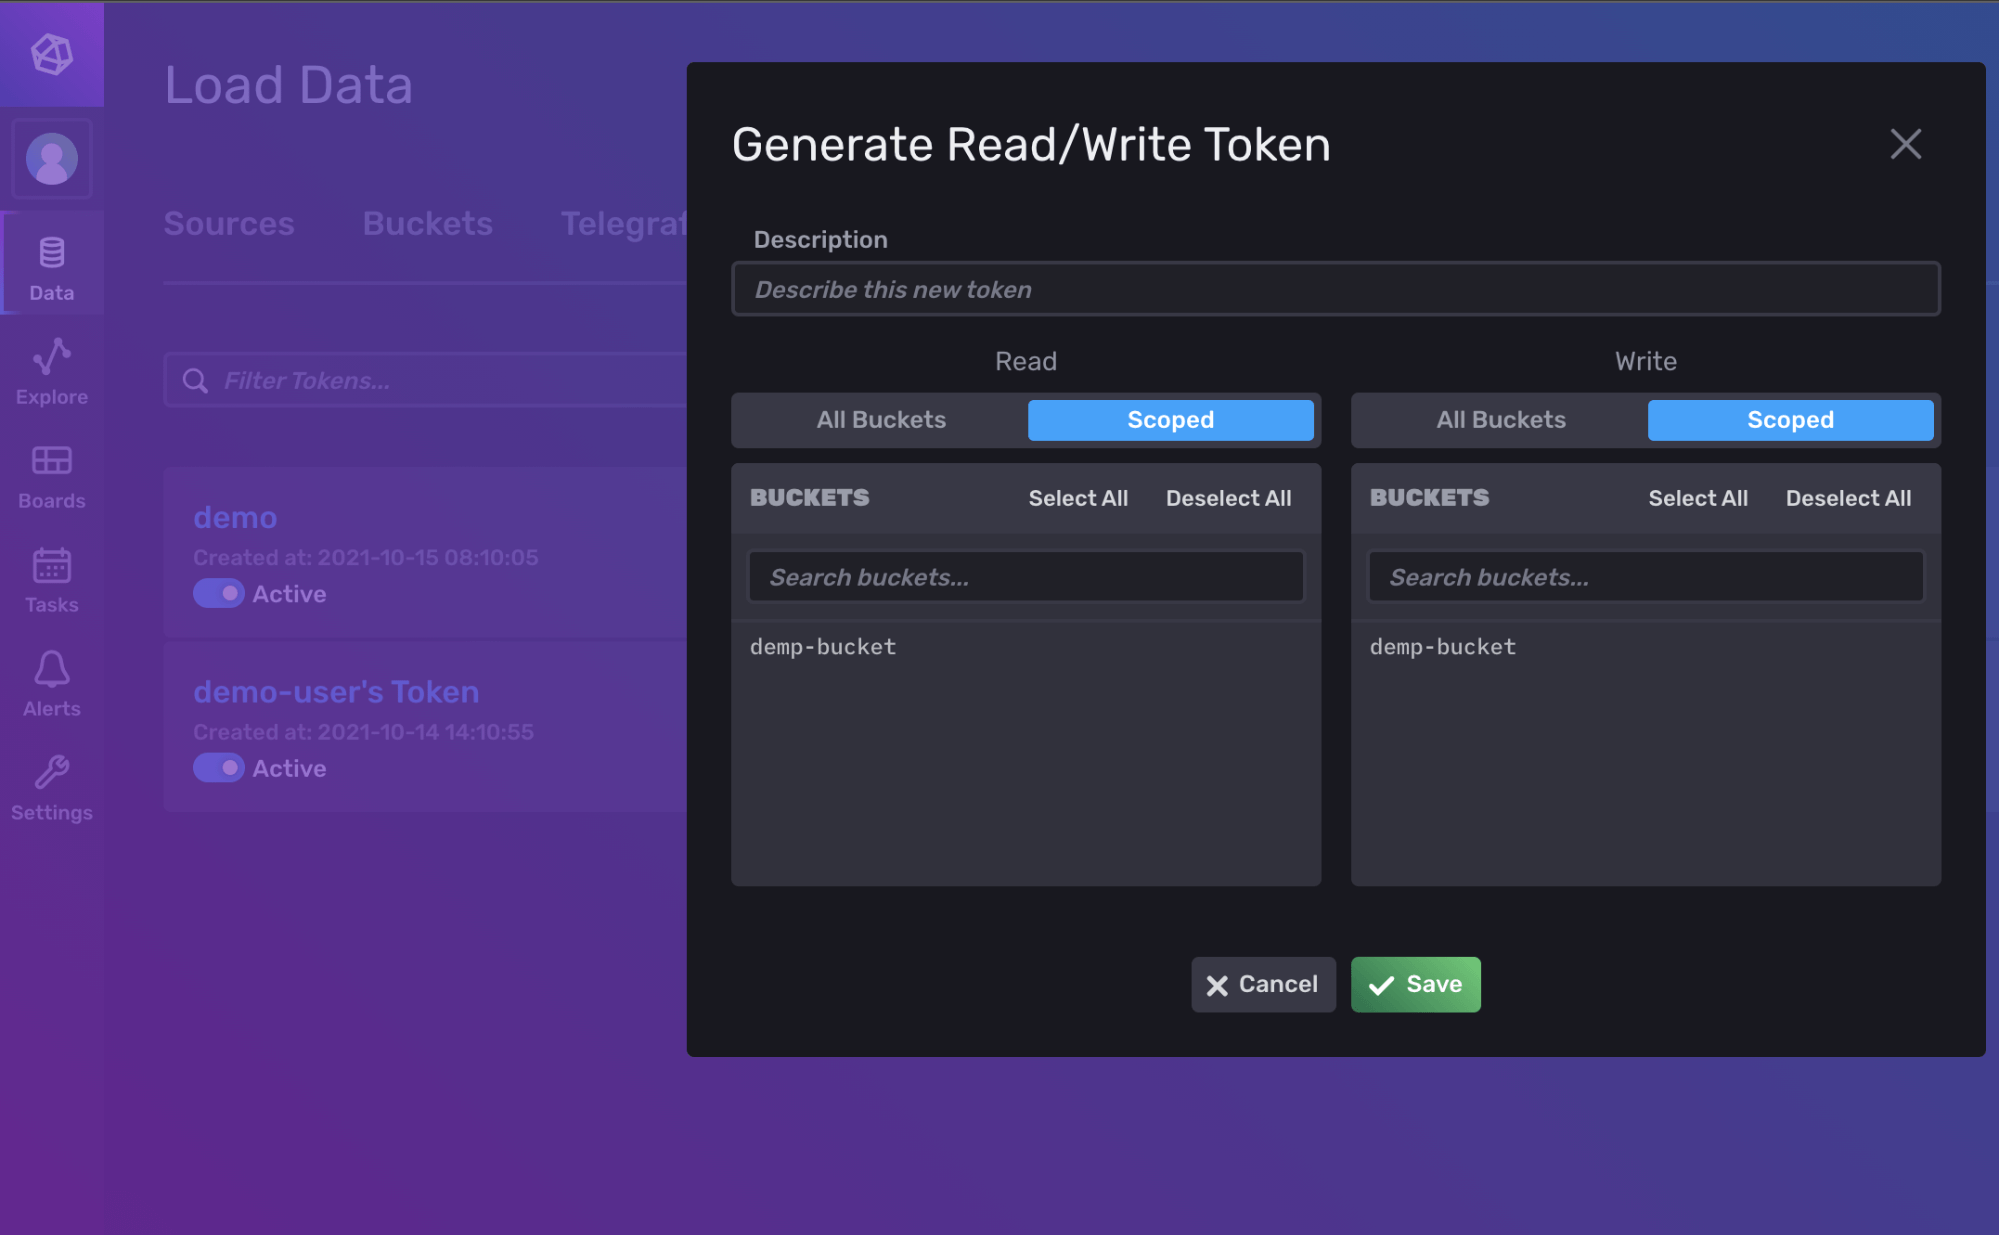
Once your token has been successfully set up, store it in a safe place as you’ll need it later.
Installing the client library
The influx-ruby library is a standard Ruby package that can be installed from RubyGems:
gem install influxdb-client -v 2.0.0
## Optionally install the client-apis
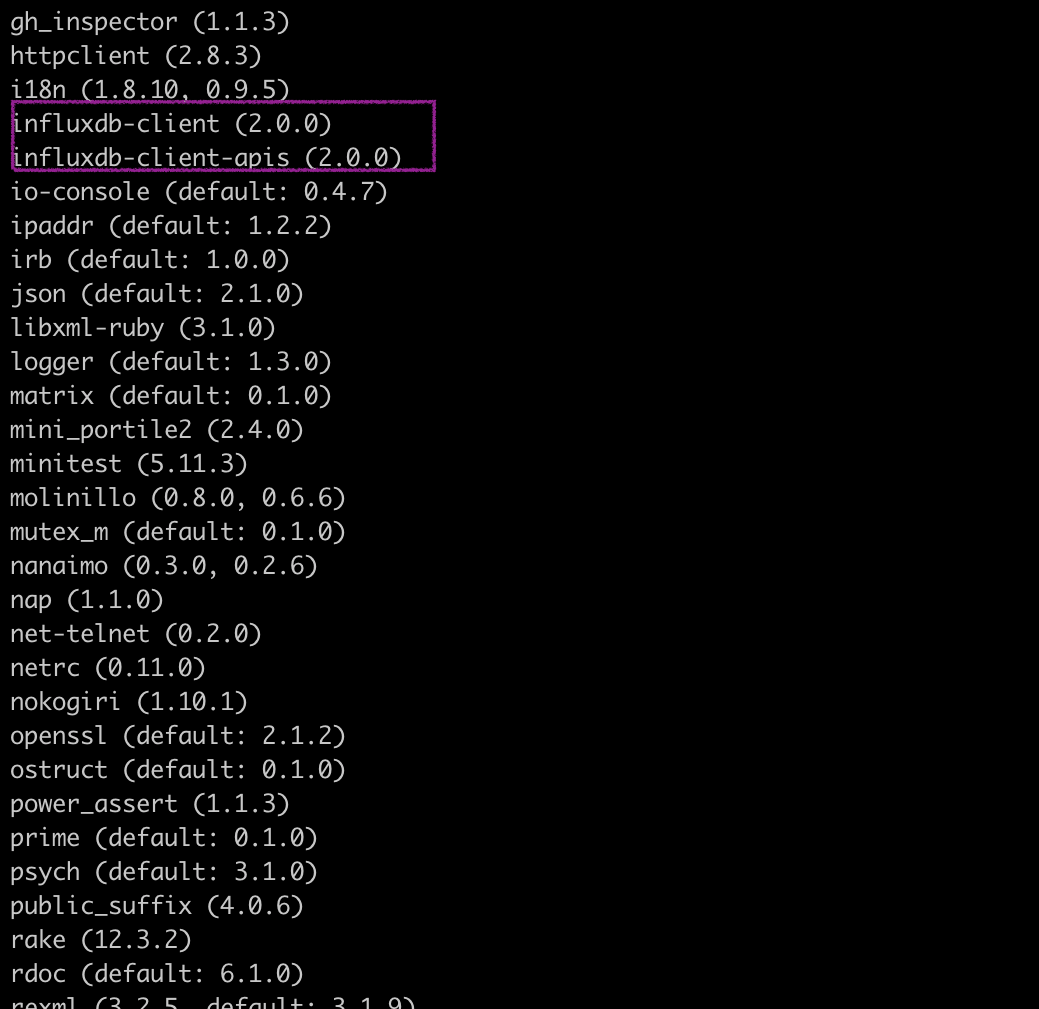
gem install influxdb-client-apis -v 2.0.0You can verify the installation status of the gems by running gem list, which outputs a list of your available gems.
Making a connection
To set up a connection with your local InfluxDB instance, you need to import the influx-db-client at the top of your file, using require 'influxdb-client'.
Set your connection credentials as variables, replacing the token variable with the actual value of the token you created earlier. If you’re running InfluxDB in a port other than the default 8086, change it in the example below:
token = 'YOUR_TOKEN_HERE'

org = 'demo'

bucket = 'demobucket'

url = 'http://localhost:8086'
In a production use case, you would want this stored as a secret in a protected .env file.
Next, create the connection by using the InfluxDB2::Client class:
client = InfluxDB2::Client.new(url, token, bucket: bucket, org: org)
Using the connection with SSL/TLS
The InfluxDB2::Client.new() method requires some parameters when it’s used to create a connection with a running InfluxDB 2 instance. These parameters allow you to pass extra options such as write precision and SSL preference to the instance.
By default, access to the Influx client comes with SSL encryption turned on so that incoming and outgoing HTTP requests are protected. To turn it off, pass the use_ssl parameter a value of false:
client = InfluxDB2::Client.new(url, token, bucket: bucket, org: org, use_ssl: falseInserting data
Now you’ll create sample data to use. If you are new to Flux, check the documentation to get started with querying your instance.
Use the create_write_api.write() method to store data in an InfluxDB bucket using the InfluxDB line protocol, a data point, or an array structure.
Using line protocol
Writing data with InfluxDB line protocol involves passing your data directly to the write() method in string format. Pass the measurement name as the first element of the string, followed by a list of tag-value pairs and a comma-separated list of the actual data fields.
If you were to build an application that monitors the number of people in a warehouse at different intervals, the line protocol would be represented in this format:
workers_in_warehouse,building=main,floor=one,supervisor=james count=200
You can learn more about line protocol in the InfluxDB documentation.
Using a data point
The influxdb-client-ruby package also provides a InfluxDB2::Point class, which exposes a new() method for formatting values to be written to buckets as a data point.
The general syntax for doing this is shown below:
point = InfluxDB2::Point.new(name: 'workers_in_warehouse')

.add_tag('building', 'main')

.add_tag('floor', 1)

.add_tag('supervisor', 'james')

.add_field('count', 201)
Using a hash
Another way to write data into buckets is by parsing data as a hasha data format in the form of plain objects.
hash = { name: 'workers_in_warehouse',

tags: { building: 'main', floor: 1, supervisor: 'james' },

fields: { count: 213 }

}
Writing data using hashes is great because of its simplicity, but you can use whichever syntax you like best. They all work just fine.
Save the data into your bucket:
# Configuring write options

write_options = InfluxDB2::WriteOptions.new(write_type: InfluxDB2::WriteType::BATCHING, batch_size: 10, flush_interval: 5_000, max_retries: 3, max_retry_delay: 15_000, exponential_base: 2, precision: InfluxDB2::WritePrecision::NANOSECOND)

# Writing to the bucket

write_api = client.create_write_api(write_options: write_options)

# writing to the bucket

write_api.write(data: 'workers_in_warehouse,building=main,floor=one,supervisor=james count=200')
Once you run this script, head to the Data Explorer section of InfluxUI to see what you’ve inserted into your bucket.
Reading data through InfluxDB UI
As noted earlier, installing InfluxDB locally gives you a web interface for editing data. Use the interface to see a visual representation of data inserted into buckets.
Log in to InfluxUI using the username and password you set earlier. You should be taken to the Getting Started page.
- Open the Load Data page by clicking on the Data menu on the sidebar.
- Once on the Load Data page, switch to the buckets section by clicking on the horizontal menu above.
- Open
test-bucket, select the desired measurement (workers_in_warehouse), and hit Submit to display the data in the Data Explorer section. - You can select the format for your data from the available options:

Now you need a way to read or query data inserted into InfluxDB from your Ruby script.
Reading data from InfluxDB
Reading or querying data from InfluxDB should be done with Fluxa data scripting language designed to work with time series databases like InfluxDB and Prometheus as well as relational databases like MySQL and PostgreSQL.
If you’re new to Flux, check the documentation to get started.
You can query your InfluxDB instance by instantiating the create_query_api property from the client: query_api = client.create_query_api.
For example, if you queried the InfluxDB bucket for data inserted in the last hour, the corresponding Flux query string would be:
query = 'from(bucket:"' + bucket + '" ) |> range(start: -1h, stop: now())'
Once the Flux query has been defined, you can execute it in exchange for data returned as an unprocessed string by the query_raw() method and passing in your string as a parameter:
result = query_api.query_raw(query: query)

Optimizing the InfluxDB Library
While InfluxDB has proven to be a versatile platform for storing and retrieving time series data, you should follow certain guidelines and best practices to make the most of your database. Here are some tips:
- Avoid encoding data in your measurement names to keep them simple.
- To reduce the size and cost of your InfluxDB instance, avoid storing duplicate or unnecessary data in your buckets.
- Write data in batches to minimize network overhead when writing to your InfluxDB instance. You can enable batch writing with the
influxdb-client-rubypackage by providing abatch_sizeproperty in your write options. - Where possible, use the value of the
time_precisionproperty sparingly when writing data to your instance. Although InfluxDB writes data into buckets using a nanosecond precision by default, you don't always need to do that in your projects.
Conclusion
InfluxDB is an exciting platform that can be used to build a variety of time-reliant projects for analytics and IoT as well as cloud-native services. It works with multiple libraries, and its community of developers is available to help with cloud or open-source issues.
As this tutorial has shown, combining InfluxDB with Ruby gives you multiple options for compiling, viewing, and analyzing your time-sensitive data.
Code samples can be found in this GitHub repository or from the GitHub gist in this link.
About the author:

Developer & digital growth hacker. Freelance technical writer, helping to save the world, one paragraph at a time.
