MQTT vs Kafka: An IoT Advocate’s Perspective (Part 3 - A Match Made in Heaven)
By
Jay Clifford
updated October 20, 2023
Product
Use Cases
Navigate to:
So here we are…the final chapter. In Part 2 of this series, we started to drill down into some of the concepts that make Kafka great. We concluded that although terminology between MQTT and Kafka was similar (for example topics), they behaved quite differently under the hood. We also took a brief overview of Kafka Connect and how we can use some of the enterprise connectors to stream our data to other platforms.
Yet we did learn that Kafka does have some shortfalls:
-
Kafka is built for stable networks which deploy a good infrastructure.
-
It does not deploy key data delivery features such as Keep-Alive and Last Will.
In comes MQTT to the rescue!
As promised in this final blog post, we will look to create a full hybrid architecture between MQTT, Kafka, and InfluxDB.
Before we begin, here is a little housekeeping:
-
Go check out Part 1 & Part 2 which will help with a little context.
-
You can find the demo code here.
So here is my plan:

In this architecture, we are going to:
-
Send our raw generator data directly to an MQTT broker (Kafka MQTT Proxy). We will continue to use our topic hierarchy from Part 2.
-
The Kafka MQTT proxy will bridge the data to our Kafka cluster.
-
We will then make use of the InfluxDB sync connector to send our data to InfluxDB Cloud (or InfluxDB OSS if you are hosting).
-
From there, we will use a combination of the InfluxDB source connector and Flux to downsample and aggregate our data (before sending our transformed data back into a new Kafka topic for further consumption).
Quite a lot to do, but who doesn’t love a challenge! Let’s get cracking.
Generator simulator + MQTT broker
So I have made some cool changes to the Generator Simulator after InfluxDB Roadshow:
-
Added better logic to the results being outputted
-
Added some new fields: load + power
-
Added Docker support
You can find the repository for Part 3 here.
Now for the big change…we have removed our Mosquitto broker from the architecture. I know what you are thinking. Where in the world are you connecting your MQTT clients? Let me introduce you to the MQTT Proxy.
So what exactly is the MQTT proxy? I must admit the documentation is a little sparse (it took me about an hour of playing around to understand exactly how it was working). So I thought it would be fun to explain how I thought it worked vs. how it actually works.
How I thought it worked

How it actually works

Pretty cool, right? So I thought the MQTT Proxy was essentially a secret MQTT client which would connect to your current broker. You would then specify the topics you wanted to pull from, then some black magic would happen to map the payload to a Kafka topic. But in fact, the MQTT proxy is essentially a secret MQTT broker with Kafka functionality bolted on. This allows our MQTT clients to directly connect to it.
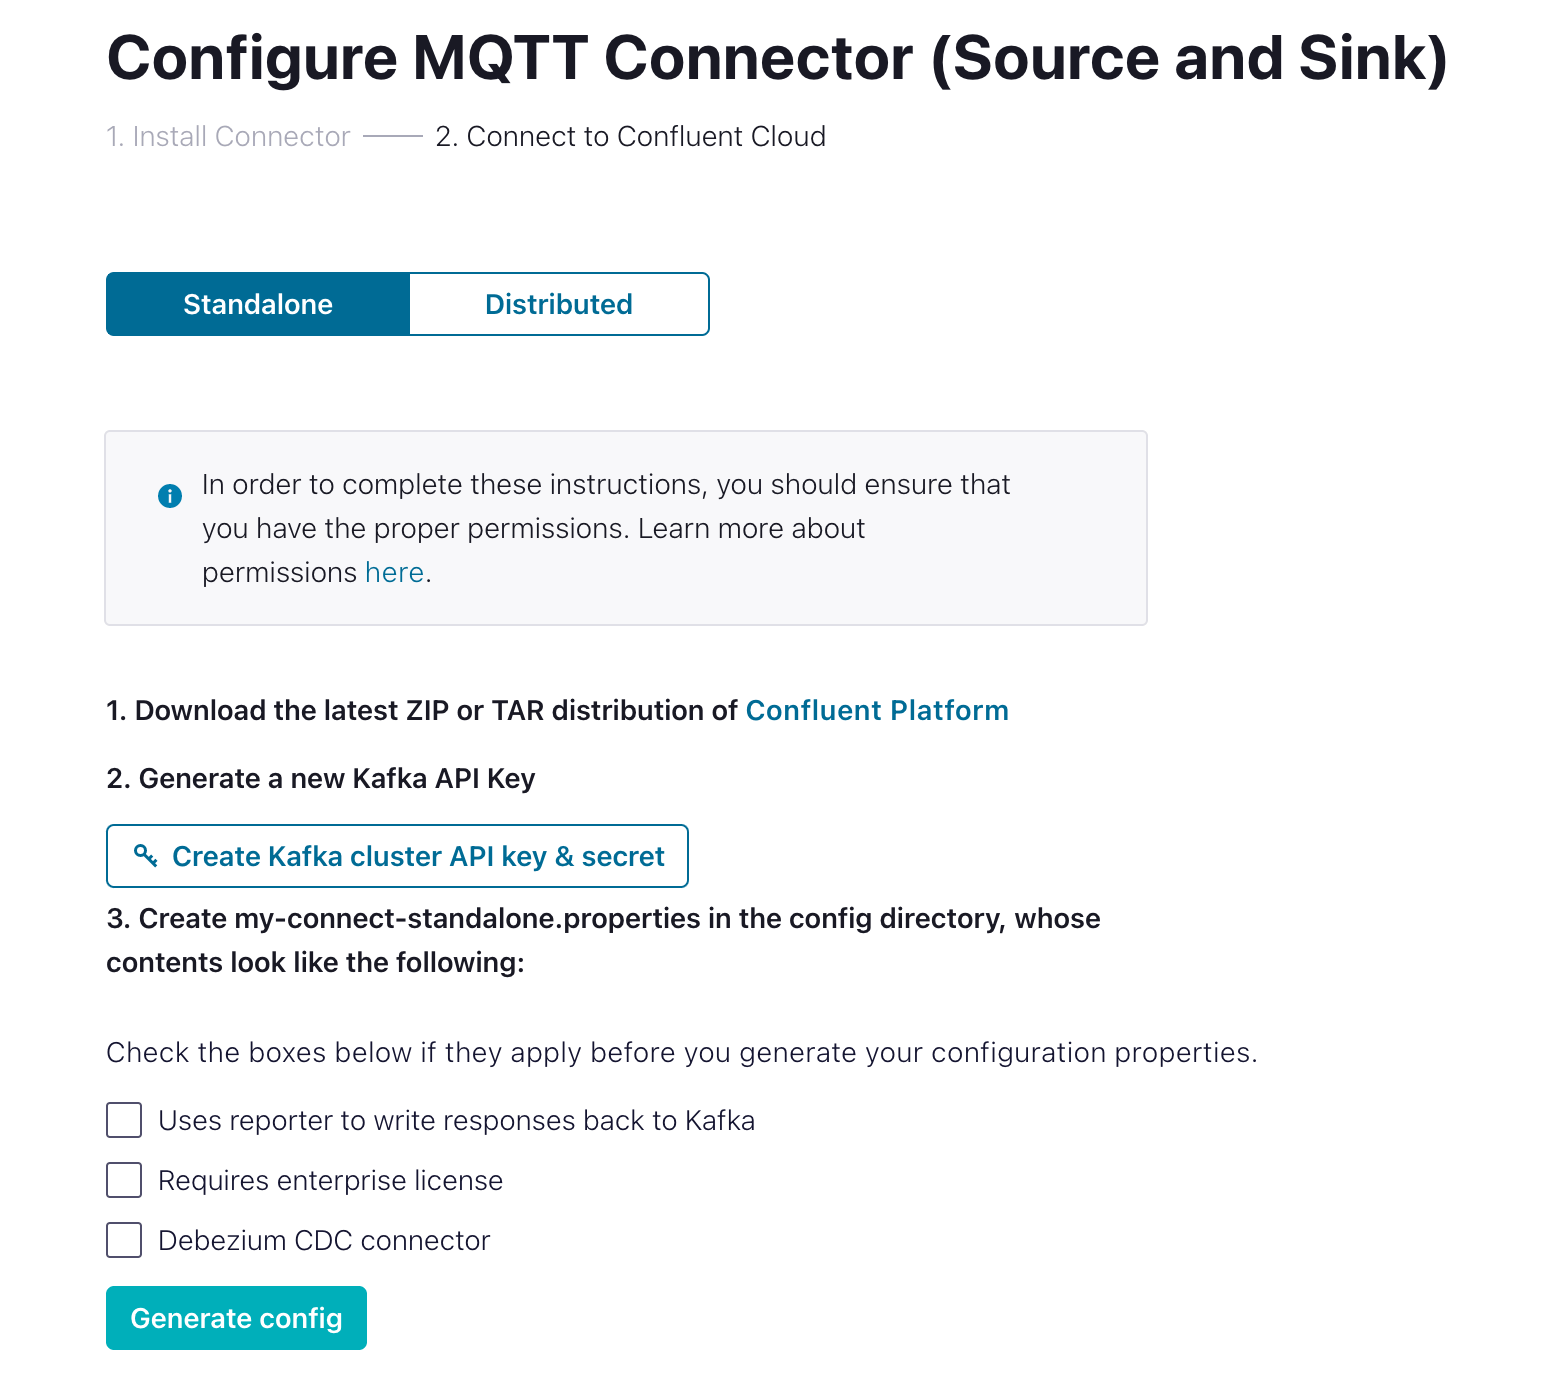
Configuration
Now that we have a little background, let’s talk configuration. In my infinite wisdom, I decided to set this architecture up with Docker containers. If I could have gone back, I would have just installed Confluent Kafka locally and been done with it. Through a silver lining, I can now share my configuration with you!
version: '3.9'
services:
  generators:
    image: emergency-generator:latest
    environment:
      - GENERATORS=3
      - BROKER=kafka-mqtt-proxy
    networks:
      - mqtt
  kafka-mqtt-proxy:
    image: confluentinc/cp-kafka-mqtt
    networks:
      - mqtt
    environment:
        - KAFKA_MQTT_BOOTSTRAP_SERVERS=pkc-l6wr6.europe-west2.gcp.confluent.cloud:9092
        - KAFKA_MQTT_KEY_CONVERTER=org.apache.kafka.connect.storage.StringConverter
        - KAFKA_MQTT_VALUE_CONVERTER=org.apache.kafka.connect.json.JsonConverter
        - KAFKA_MQTT_VALUE_CONVERTER_SCHEMAS_ENABLE=false

        - KAFKA_MQTT_SSL_ENDPOINT_IDENTIFICATION_ALGORITHM=https
        - KAFKA_MQTT_SECURITY_PROTOCOL=SASL_SSL
        - KAFKA_MQTT_SASL_MECHANISM=PLAIN
        - KAFKA_MQTT_SASL_JAAS_CONFIG="org.apache.kafka.common.security.plain.PlainLoginModule required username="######" password="######";
        - KAFKA_MQTT_REQUEST_TIMEOUT_MS=20000
        - KAFKA_MQTT_RETRY_BACKOFF_MS=500

        - KAFKA_MQTT_PRODUCER_BOOTSTRAP_SERVERS=pkc-l6wr6.europe-west2.gcp.confluent.cloud:9092
        - KAFKA_MQTT_PRODUCER_SSL_ENDPOINT_IDENTIFICATION_ALGORITHM=https
        - KAFKA_MQTT_PRODUCER_SECURITY_PROTOCOL=SASL_SSL
        - KAFKA_MQTT_PRODUCER_SASL_MECHANISM=PLAIN
        - KAFKA_MQTT_PRODUCER_SASL_JAAS_CONFIG=org.apache.kafka.common.security.plain.PlainLoginModule required username="######" password="######";
        - KAFKA_MQTT_PRODUCER_REQUEST_TIMEOUT_MS=20000
        - KAFKA_MQTT_PRODUCER_RETRY_BACKOFF_MS=500

        - KAFKA_MQTT_OFFSET_FLUSH_INTERVAL_MS=10000
        - KAFKA_MQTT_OFFSET_STORAGE_FILE_FILENAME=/tmp/connect.offsets

        - KAFKA_MQTT_LISTENERS=0.0.0.0:1883
        - KAFKA_MQTT_TOPIC_REGEX_LIST=emergency_generators:.*
        - KAFKA_MQTT_CONFLUENT_TOPIC_REPLICATION_FACTOR=1

networks:
  mqtt:
    name: mqtt
So to explain a little, my Kafka cluster is still being hosted and maintained in Confluent Cloud. I am running this docker-compose locally on my laptop. So essentially we have a hybrid architecture with edge-to-cloud communication via the MQTT-Proxy. Let’s break down the docker-compose file:
generators: This is our generator simulator, I won’t spend any time on this. The environment variables allow you to pick the broker you want the MQTT clients to connect to and the number of generators to spin up.
Kafka-mqtt-proxy: So if you are familiar with Kafka configuration, you know that you normally have to define properties file like this:
properties
topic.regex.list=temperature:.*temperature, brightness:.*brightness
listeners=0.0.0.0:1883
bootstrap.servers=PLAINTEXT://localhost:9092
confluent.topic.replication.factor=1
This is slightly abstracted when dealing with Confluent Kafka containers. Instead, we have to define them as environment variables. I will link the documentation here. The rule of thumb:
- ALL CAPS
- . replaced by _
- All environment variables are appended with the service name. The documentation will guide you here but in our case it’s: KAFKA_MQTT
Now into the content of the environment variables. I am going to split them into two categories, as the bulk of the environment variables used are for connecting and authenticating against Confluent Cloud:
-
Confluent Cloud authentication: The majority of this can be generated automatically by Confluent Cloud.
 You will then need to convert the properties to the docker environment variable format if you are using Docker. Or better yet you could use my environment variables and replace the following:
- KAFKA_MQTT_BOOTSTRAP_SERVERS
- KAFKA_MQTT_SASL_JAAS_CONFIG (username + password)
- KAFKA_MQTT_PRODUCER_SASL_JAAS_CONFIG (username + password)
-
MQTT Proxy: So there are quite a fair few parameters you can add here. I will leave the full list here. For this blog, we are using the basics:
- KAFKA_MQTT_LISTENERS: Which port will the Proxy listen for clients on. In our case, we are using unauthenticated 1883. You can use TLS 8883 with the appropriate configuration.
- KAFKA_MQTT_TOPIC_REGEX_LIST: This is how MQTT topics map to Kafka topics. The rule of thumb
<KAFKA_TOPIC_NAME>:.<MQTT_REGEX>. Although it’s a bad practice, I suggest starting with wildcarding at the root level if you can, just to make sure you are collecting data, and then narrow down your topic accordingly. - KAFKA_MQTT_CONFLUENT_TOPIC_REPLICATION_FACTOR: How many times your payload should be replicated. At production level, the advice is at least 3 times.
 You will then need to convert the properties to the docker environment variable format if you are using Docker. Or better yet you could use my environment variables and replace the following:
InfluxDB Sync Connector -> InfluxDB-> Influx Source Connector
So we have the first phase of our IoT data pipeline architecture up and running. Now we can start getting a little more creative with how we work with our data. Let’s drill down one layer from our original diagram and see what we are trying to achieve:

So within this architecture, InfluxDB has evolved to become a little bit more than just a data store. Here is the data journey:
- Firstly we use the InfluxDB Sync connector to write our data to the InfluxDB bucket Kafka_raw. So depending on your payload format you can define which fields should be tags but we are a little limited with the MQTT Proxy. We will leave this up to a Flux task.
- Next, we will use a Flux task to collect the newly written data from our raw bucket and perform the following enrichment tasks:
- We aggregate our data by selecting the last sample from each generator since the last task was run.
- We then create a new field called alarm. We will calculate the alarm level sed on the current fuel level of each generator.
- We will set a new tag called region.
- We will store the enriched data within our second bucket Kafka_downsampled.
- Lastly, we will use the InfluxDB Source to query the data out of Kafka_downsampled and publish it on a new Kafka topic for further consumption.
Configuration
Let’s rock and roll.
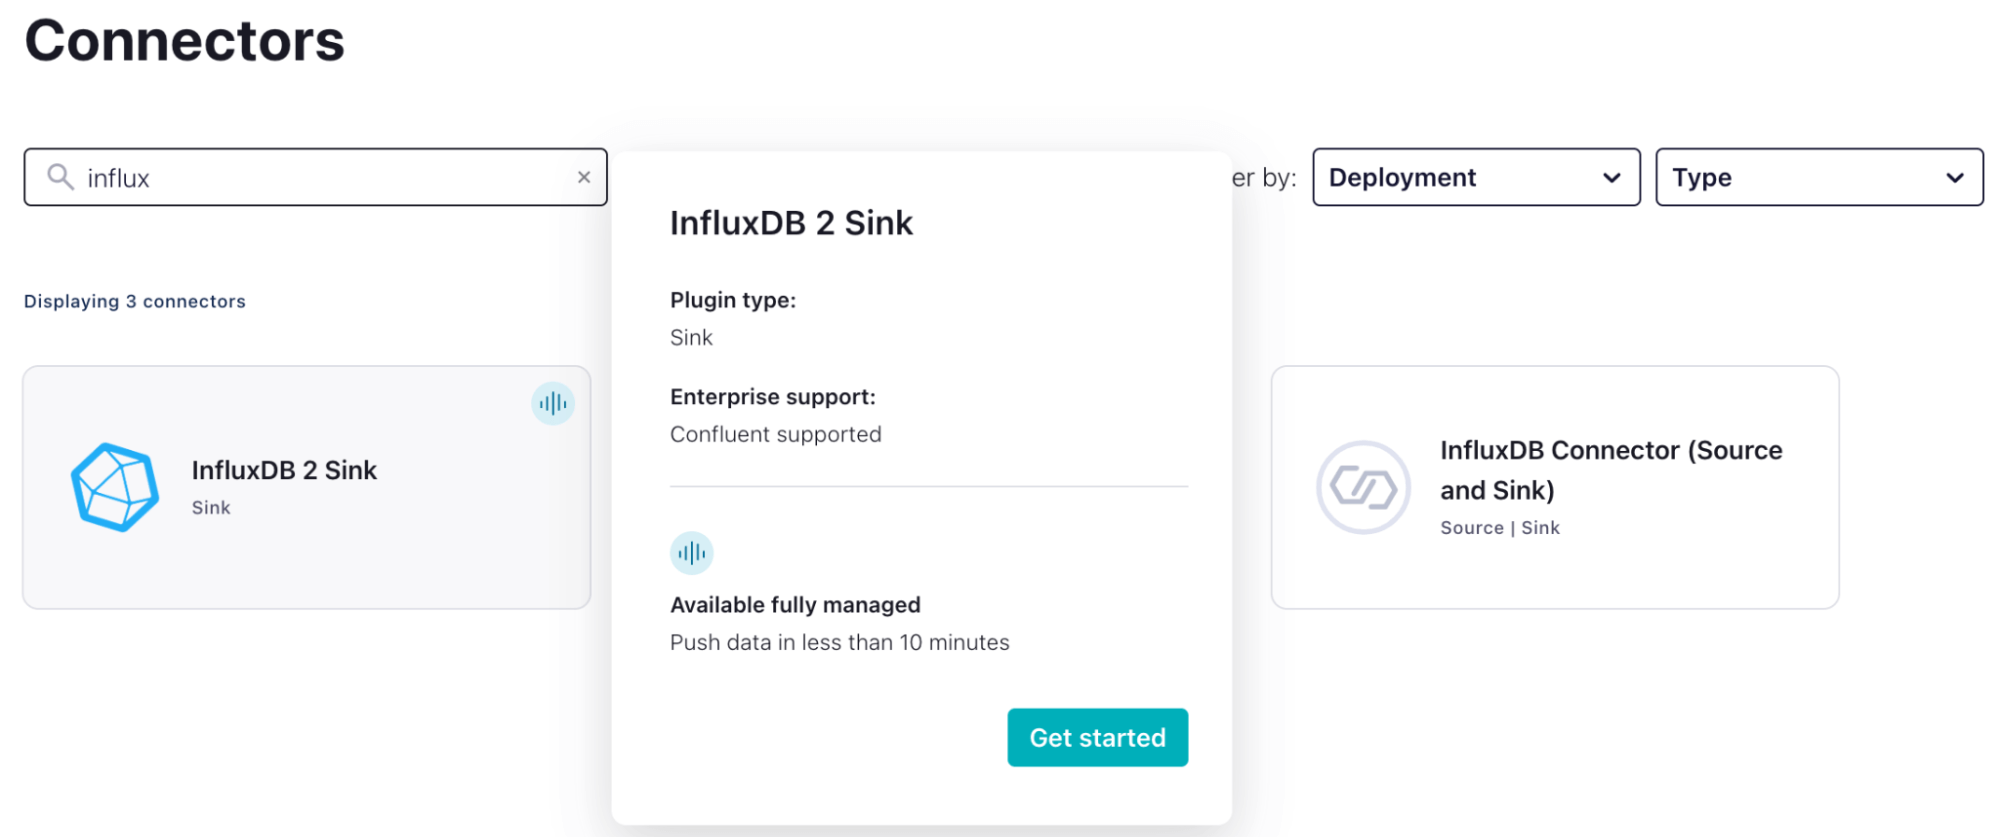
InfluxDB Sync Connector
This part is pretty straightforward
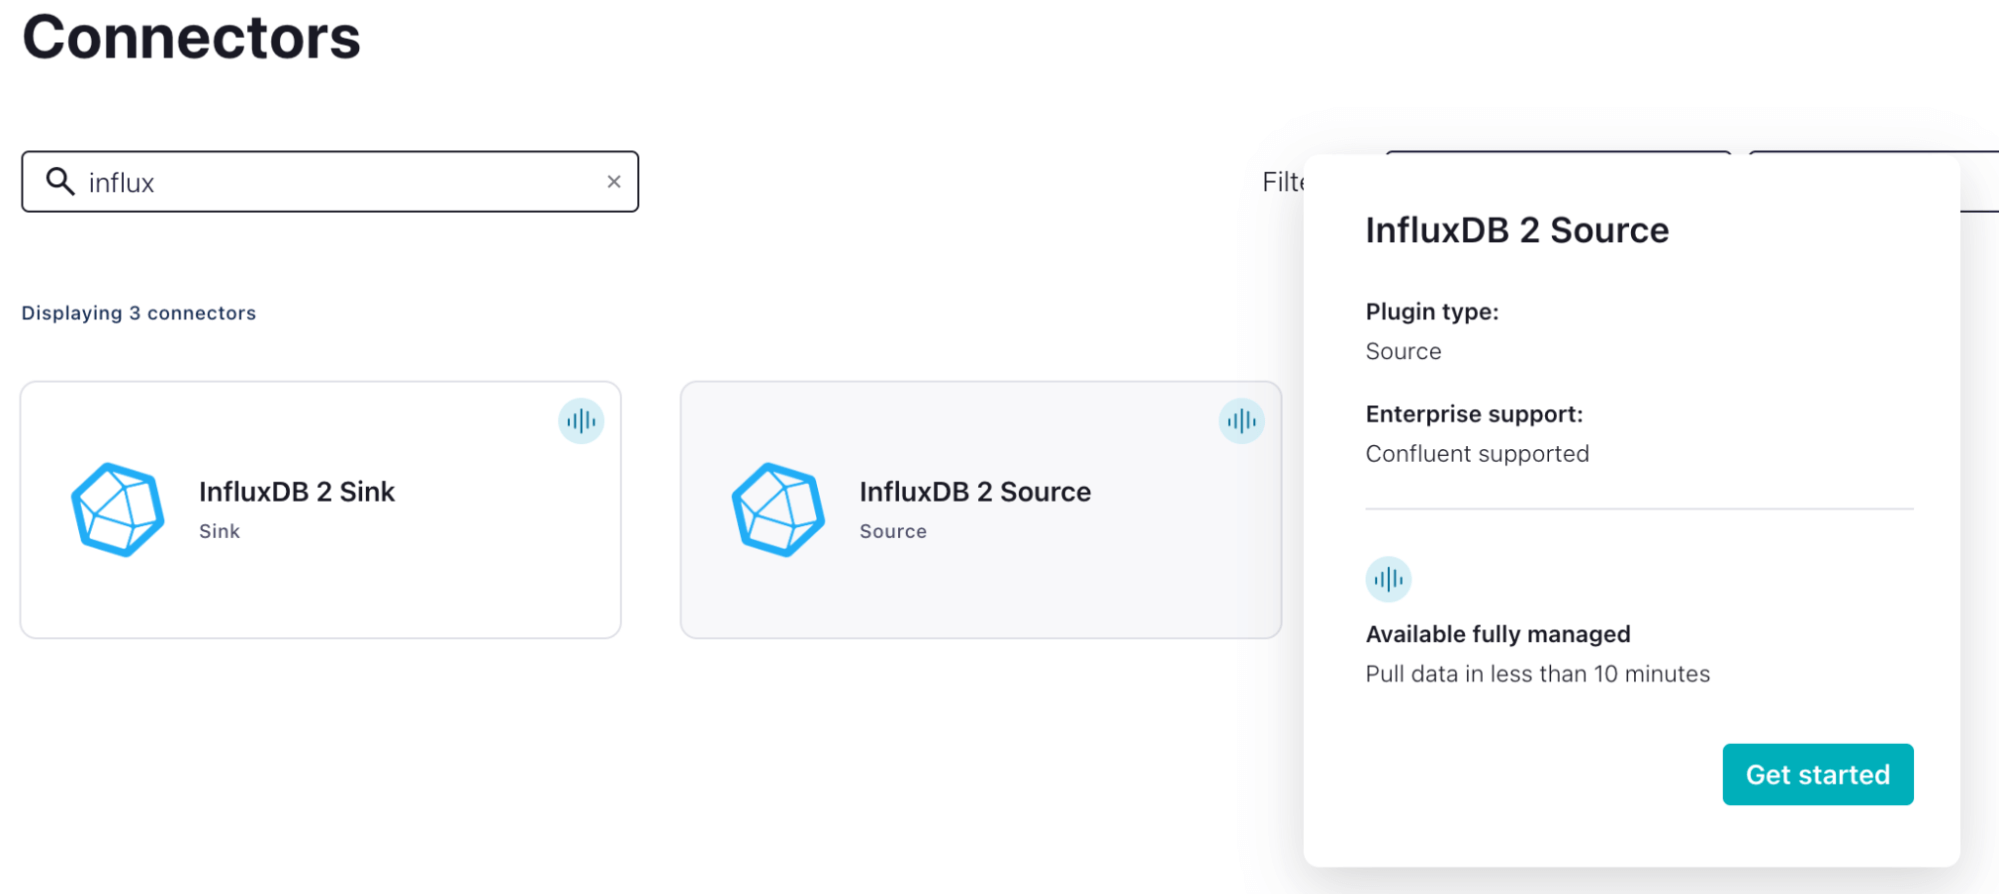
- We select the InfluxDB 2 Sink Plugin.
- Fill out the forum to build the connector properties. It should look something like this:
{ "name": "InfluxDB2SinkConnector_0", "config": { "topics": "emergency_generators", "input.data.format": "JSON", "connector.class": "InfluxDB2Sink", "name": "InfluxDB2SinkConnector_0", "kafka.auth.mode": "KAFKA_API_KEY", "influxdb.url": "https://us-east-1-1.aws.cloud2.influxdata.com", "influxdb.org.id": "05ea551cd21fb6e4", "influxdb.bucket": "kafka", "measurement.name.format": "genData", "tasks.max": "1" } } - You should now see data appearing in your InfluxDB bucket. If you see data entering DLQ, this is usually down to selecting the wrong data format.

Flux task
Now we can work on enriching our data:
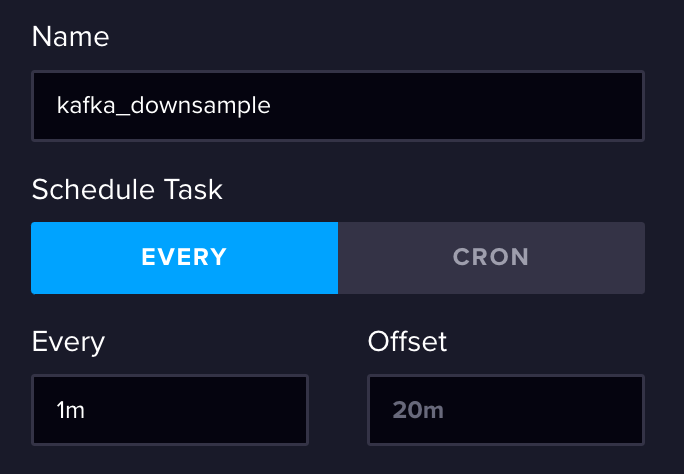
- Create a new task.
- Let’s give it a name and a trigger time. We want our aggregated data reasonably promptly, so I have chosen a 1-minute interval.
- Now let’s create the task:


import "influxdata/influxdb/tasks"

option task = {name: "kafka_downsample", every: 1m, offset: 0s}

from(bucket: "kafka")
    |> range(start: tasks.lastSuccess(orTime: -1h))
    |> filter(fn: (r) => r["_measurement"] == "genData")
    |> pivot(rowKey: ["_time"], columnKey: ["_field"], valueColumn: "_value")
    |> group(columns: ["generatorID"], mode: "by")
    |> last(column: "fuel")
    |> map(fn: (r) => ({r with alarm: if r.fuel < 500 then "refuel" else "no action"}))
    |> set(key: "region", value: "US")
    |> to(
        bucket: "kafka_downsampled",
        tagColumns: ["generatorID", "region"],
        fieldFn: (r) =>
            ({
                "alarm": r.alarm,
                "fuel": r.fuel,
                "lat": r.lat,
                "lon": r.lon,
                "power": r.power,
                "load": r.load,
                "temperature": r.temperature,
            }),
    )
Quick breakdown:
-
We use range() + tasks.lastSuccess to collect a range of our data after the last task run. If this is the first time it’s being run we default to a static value (-1h)
-
Next, we filter for all the data under our measurement genData.
-
Pivot() is used to shift our values stored vertically into a horizontal format which is akin to working with SQL databases. (This is important for working with our map function).
-
We group() by our generatorID column. This separates each generator’s data into its own table.
-
Last() will select and return the last row of each table.
-
We then use map() with some conditional logic to check our current fuel level. We create a new column called alarm. Alarms value will be filled based on the conditional logic.
-
set() allows us to create a new column and manually fill each row with the same value.
-
Lastly, to() allows us to transfer our data to kafka_downsampled. We provide some mapping logic to define which columns are fields and tags.
InfluxDB Source Connector
Finally, let’s stream this data back into a Kafka topic:
- We select the InfluxDB 2 source plugin.
- Fill out the forum to build the connector properties. It should look something like this:
{ "name": "InfluxDB2SourceConnector_0", "config": { "connector.class": "InfluxDB2Source", "name": "InfluxDB2SourceConnector_0", "kafka.auth.mode": "KAFKA_API_KEY", "influxdb.url": "https://us-east-1-1.aws.cloud2.influxdata.com", "influxdb.org.id": "05ea551cd21fb6e4", "influxdb.bucket": "kafka_downsampled", "mode": "timestamp", "topic.mapper": "bucket", "topic.prefix": "EG", "output.data.format": "JSON", "tasks.max": "1" } } - We should now be able to start seeing data pulled from our bucket via the topic message panel. Note we enabled a really cool feature within the source config “mode: timestamp”. This will check the last timestamp sent onto the Kafka topic and only return samples after this. You also have a bulk mode available to you as well.

Results and prospective
So although not visually pleasing, here are the results:
Raw

Enriched

I thought the implications of this were extremely interesting:
-
It shows an architecture where InfluxDB is not the final step on the journey for your data.
-
We have shown a great example of a decoupled architecture where we can modify the behavior of our data transformations within InfluxDB without needing to modify other stages of our architecture.
-
With all things said and done, this really basic example took 1-2 hours to put together after planning. There was also a very low code threshold in setting up this architecture.
So we did it! We have reached the end of our three-part series on MQTT Vs Kafka. Working on this blog series has taught me a lot! The first big revelation was that the title should be changed: MQTT Vs Kafka -> MQTT & Kafka: A Hybrid Architecture for IoT. In all seriousness, let’s take a summary:
- In Part 1, we learned the basics, and I tried to compare MQTT to Kafka directly. At face value they share similar terminology:
- Topics and brokers
- Publishers and subscribers
- It also became evident during part 1 that treating Kafka like MQTT was the equivalent of powering a mobility scooter with a Ferrari engine. We were utilizing very few of the features that make Kafka such an interesting streaming protocol.
- In Part 2, we delved a little deeper into the differences between MQTT and Kafka. For instance, we drilled into the concepts of topics and partitioning. We also learned about enterprise connectors through Kafka connect.
- It was also concluded that although Kafka had many powerful features, it did have some shortfalls within IoT architectures:
- Kafka is built for stable networks which deploy a good infrastructure.
- Kafka does not deploy key data delivery features such as Keep-Alive and Last Will.
We have now built an architecture which maintains the benefits MQTT provides to an IoT architecture (lightweight, built for poor connectivity and effective handling of thousands of connections). We then complimented MQTT with Kafka promoting; high availability, high throughput and enterprise-level connectors. Lastly, we showed how InfluxDB could be included to enhance our IoT data pipeline by providing; extended storage & data transformation capabilities.
So I hope you enjoyed this series as much as I did writing it. I am a strong believer in that the only way to learn something new is by having a go! The theory will only get you so far. I also wanted to share this little insight from the community which I thought was really awesome. There is a company called WaterStream which is providing further integration between Kafka and MQTT. They made this super cool demo which is worth a look!
So until next time, have a go! Download the code from our Community Repo and let me know your thoughts. Who knows? Maybe we might be able to spin up a Part 4 community edition with enough feedback.
Something to think about…
Within the above example, we relied heavily on Kafka infrastructure to get our data around. Critically Kafka provided a feasible way for us to get our data from Edge to Cloud. In some circumstances, we might not be this lucky. So let’s take a look at an alternative architecture:

The above architecture is made possible by a new InfluxDB feature called Edge Data Replication. This allows us to write data from our generators to a locally hosted InfluxDB before being automatically transferred to InfluxDB Cloud. This is great for use cases where:
-
Edge infrastructure already exists. You might already be using InfluxDB at the edge but want an easy way to extend your architecture into the cloud.
-
You require local storage and visibility of your data.
We can still retain our Kafka solution hosted in the cloud for the rest of our architecture, but this allows InfluxDB to provide the backbone in data transfer from edge to cloud.
